

Description
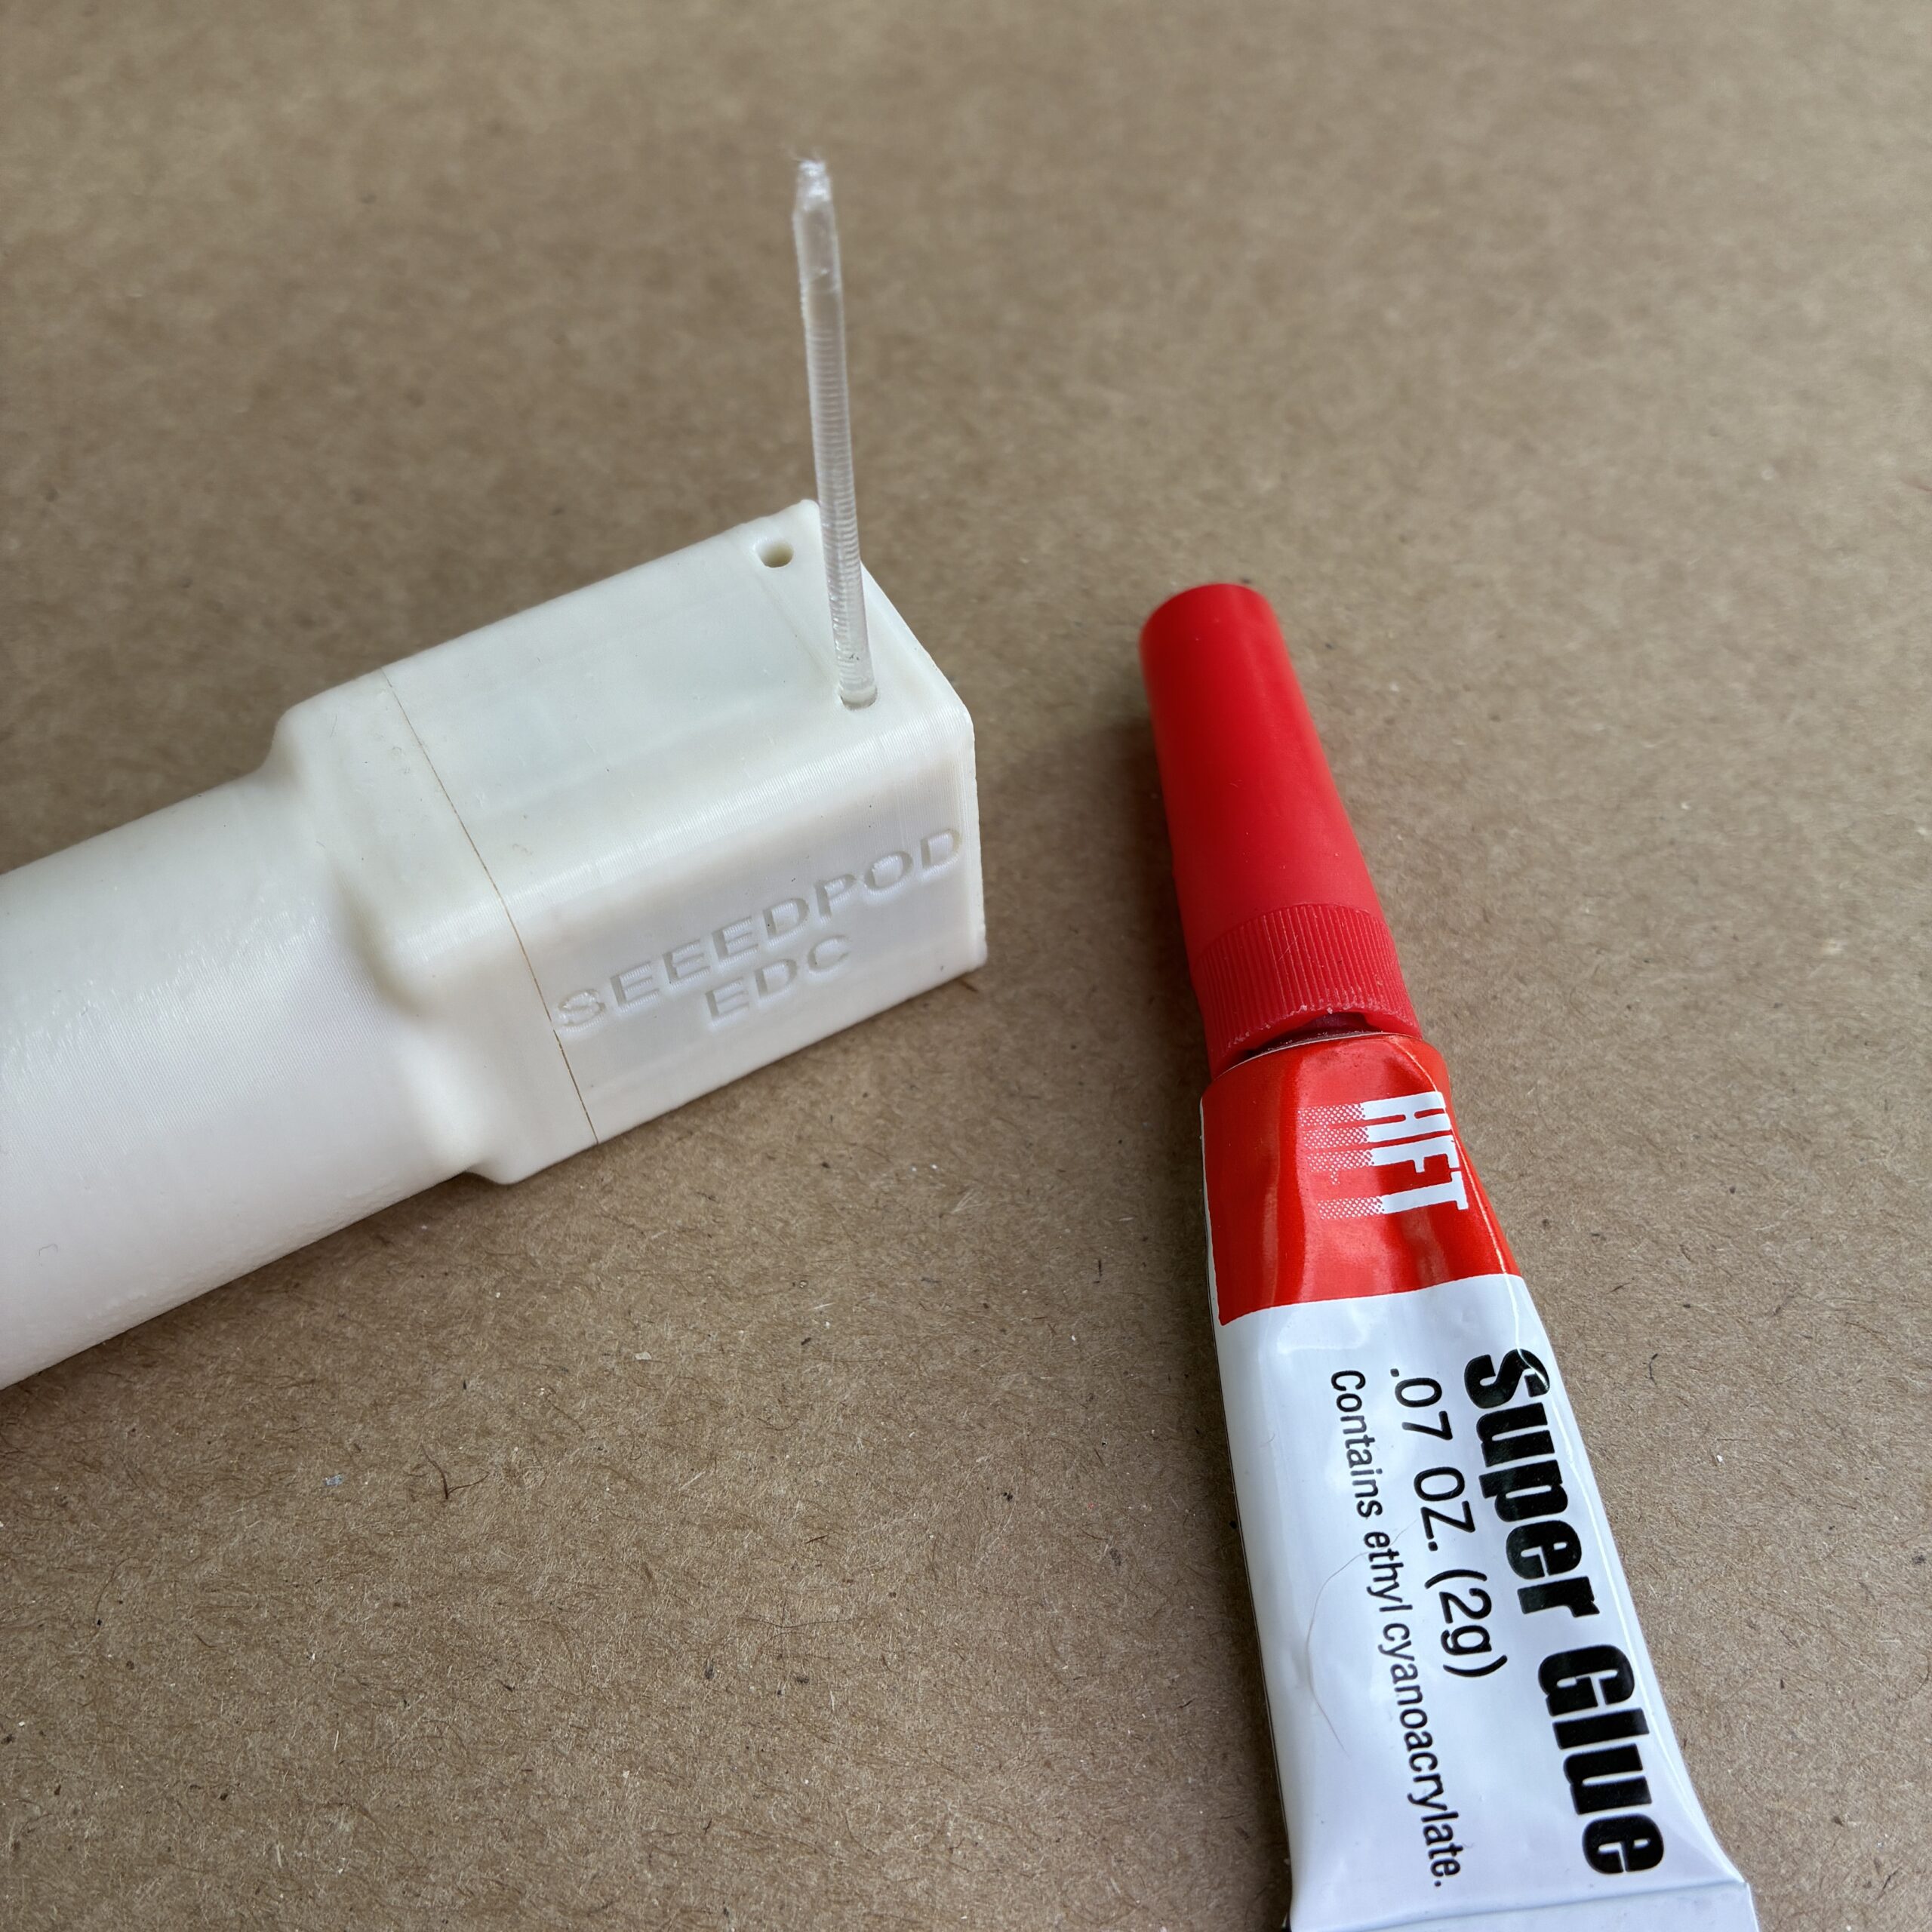
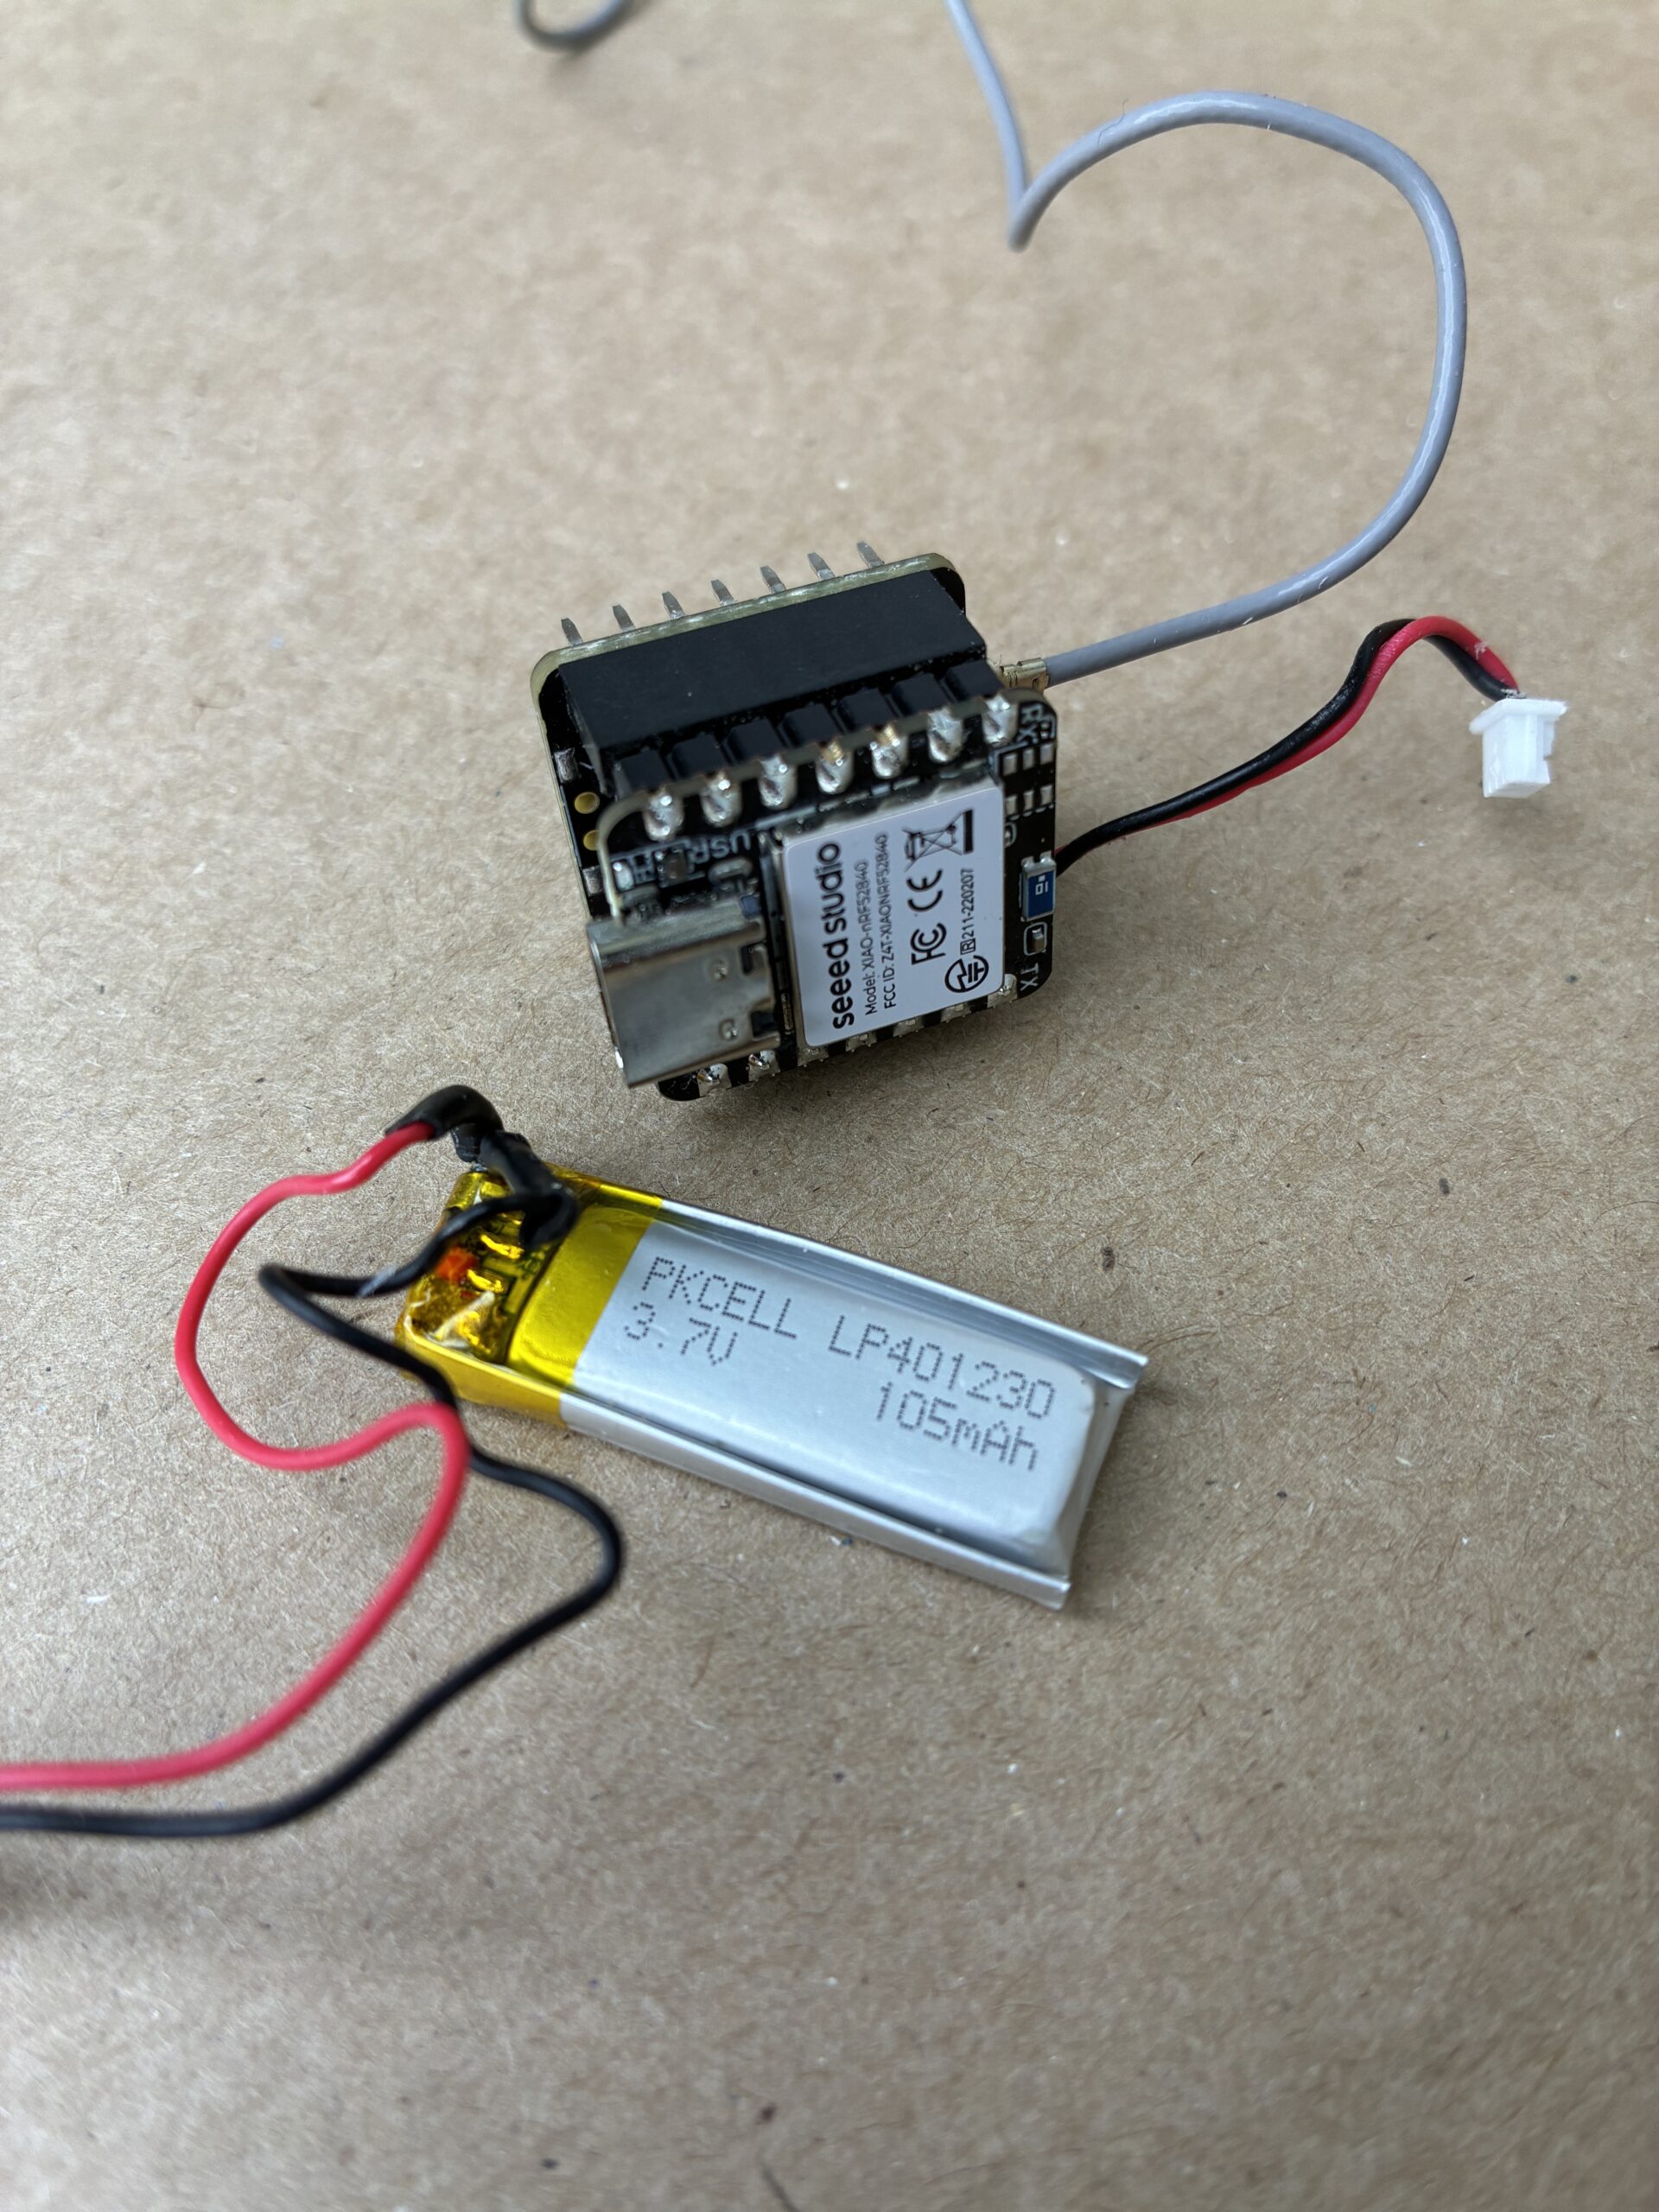
The impetus behind the EDC Lite is to create the absolute lowest barrier to entry possible for achieving a fully functioning Meshtastic node. No soldering is required, and there are no special filaments…or hard to find fasteners…or anything else to buy! All you need is your printer (most public libraries now have 3d printers, fyi), some super glue, and a Seeed Studios nRF52 dev kit. You can catch them on sale for around ten dollars, and the case itself only uses about fifty cents worth of typical filament, so you can make these for ten dollars on the low end and fifteen on the high end, making them one third to half the cost of other similar nodes.
This is a great option if you just want to dip your toe into Meshtastic without spending a lot of money, or if you’re trying to outfit an entire group of people on a budget.
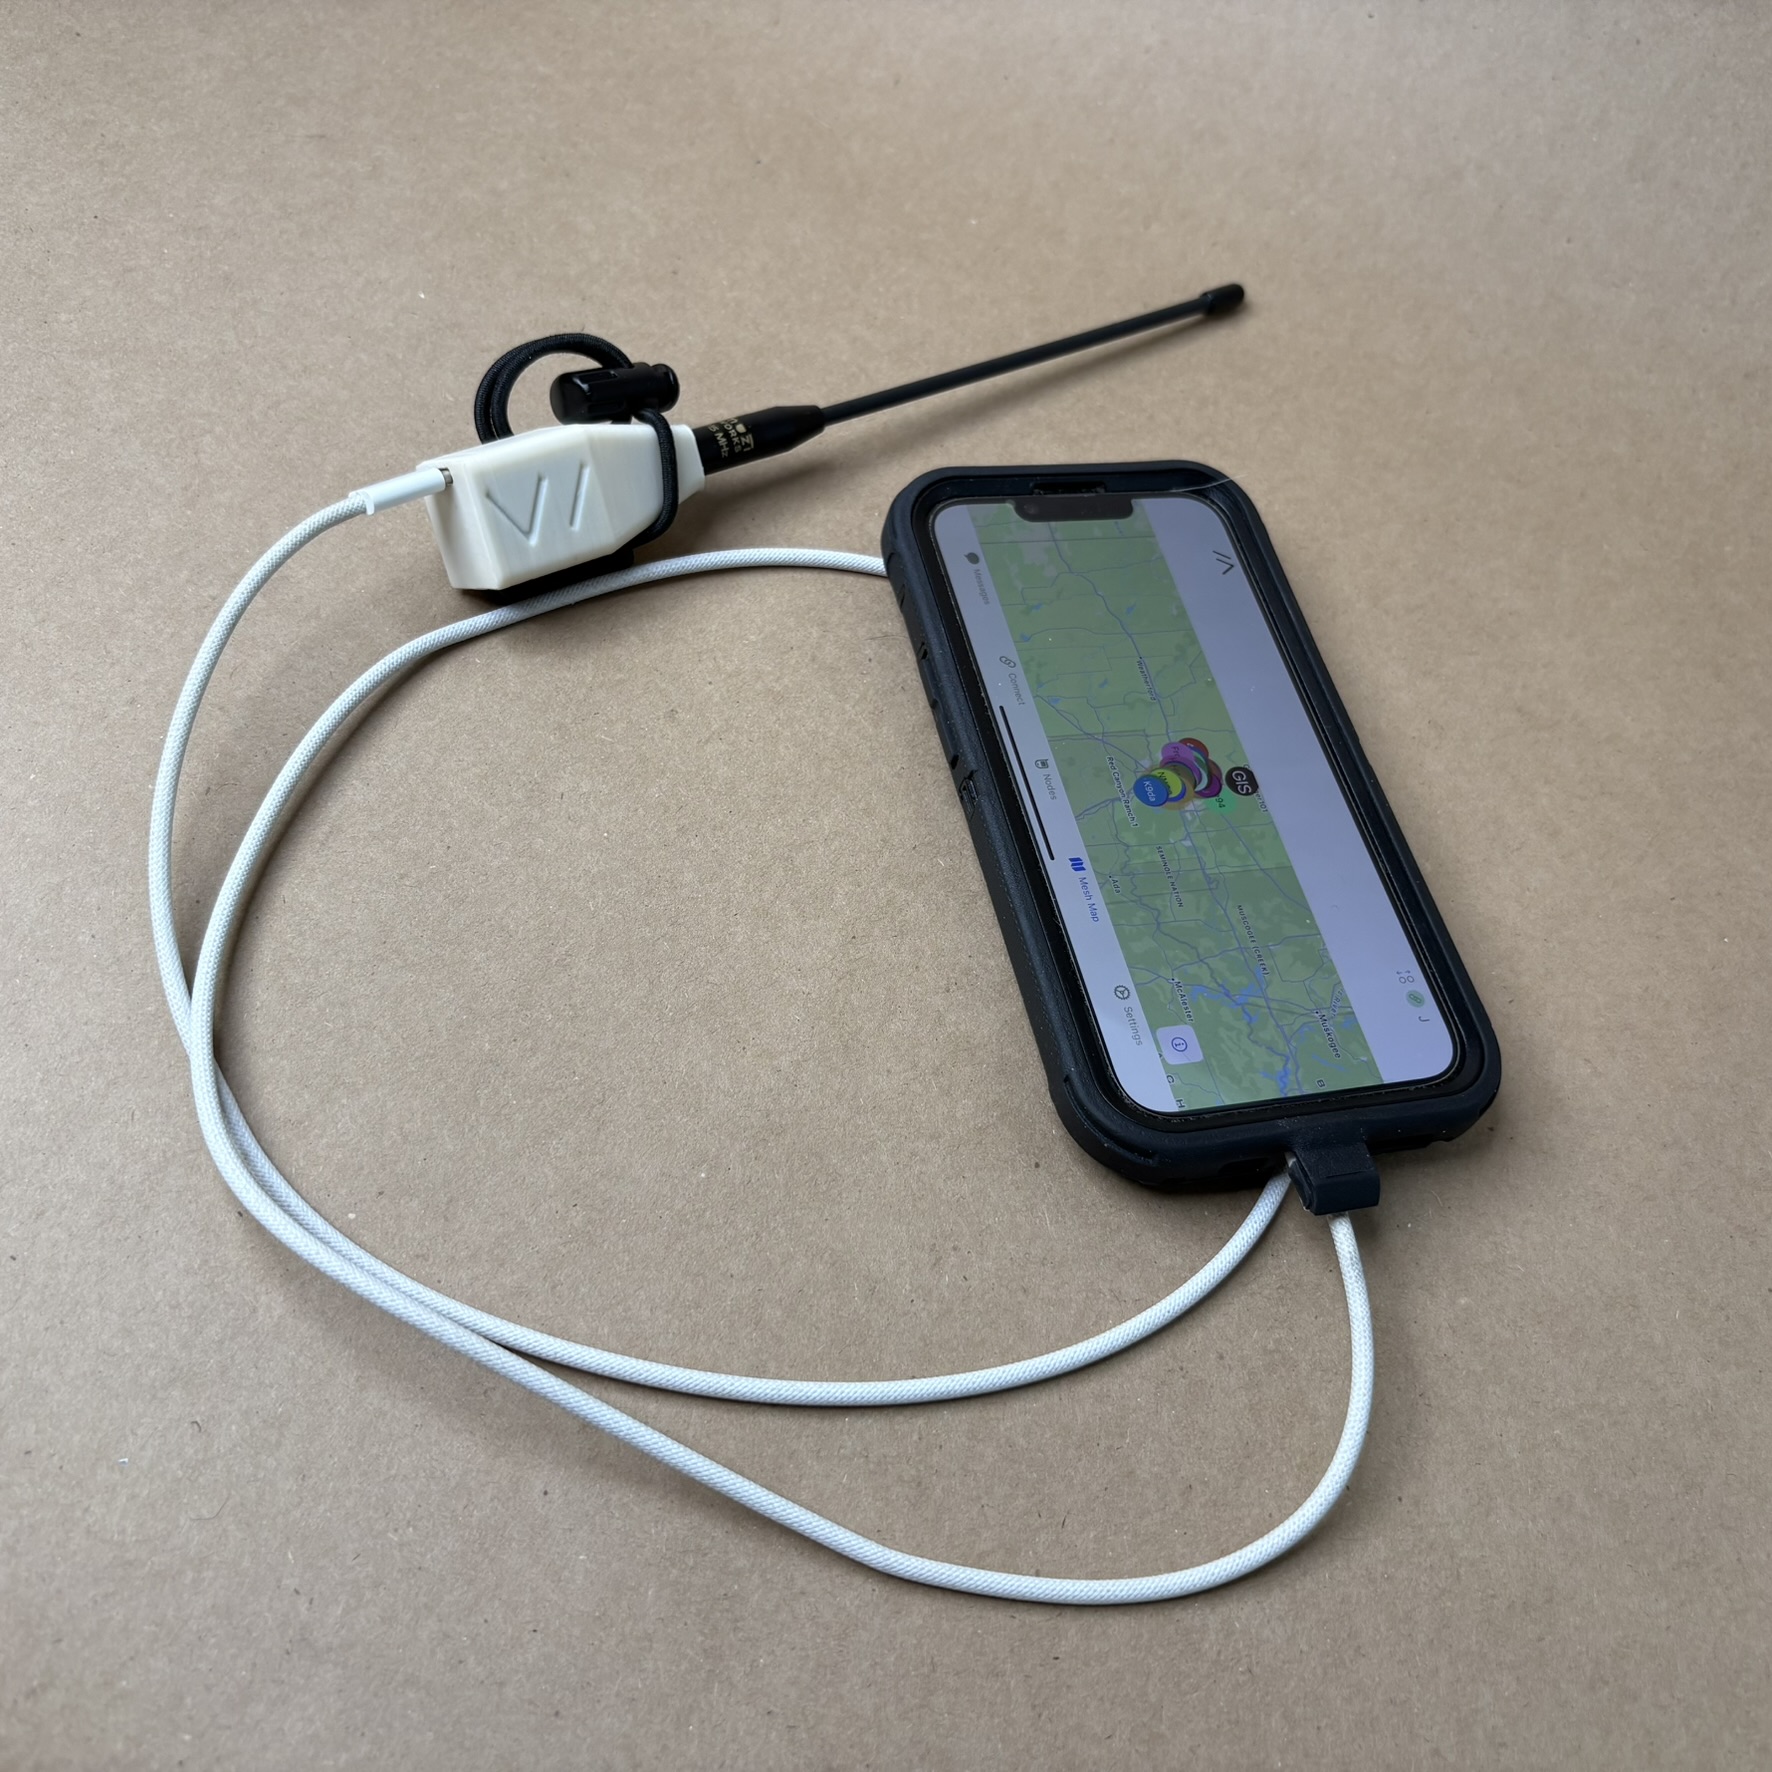
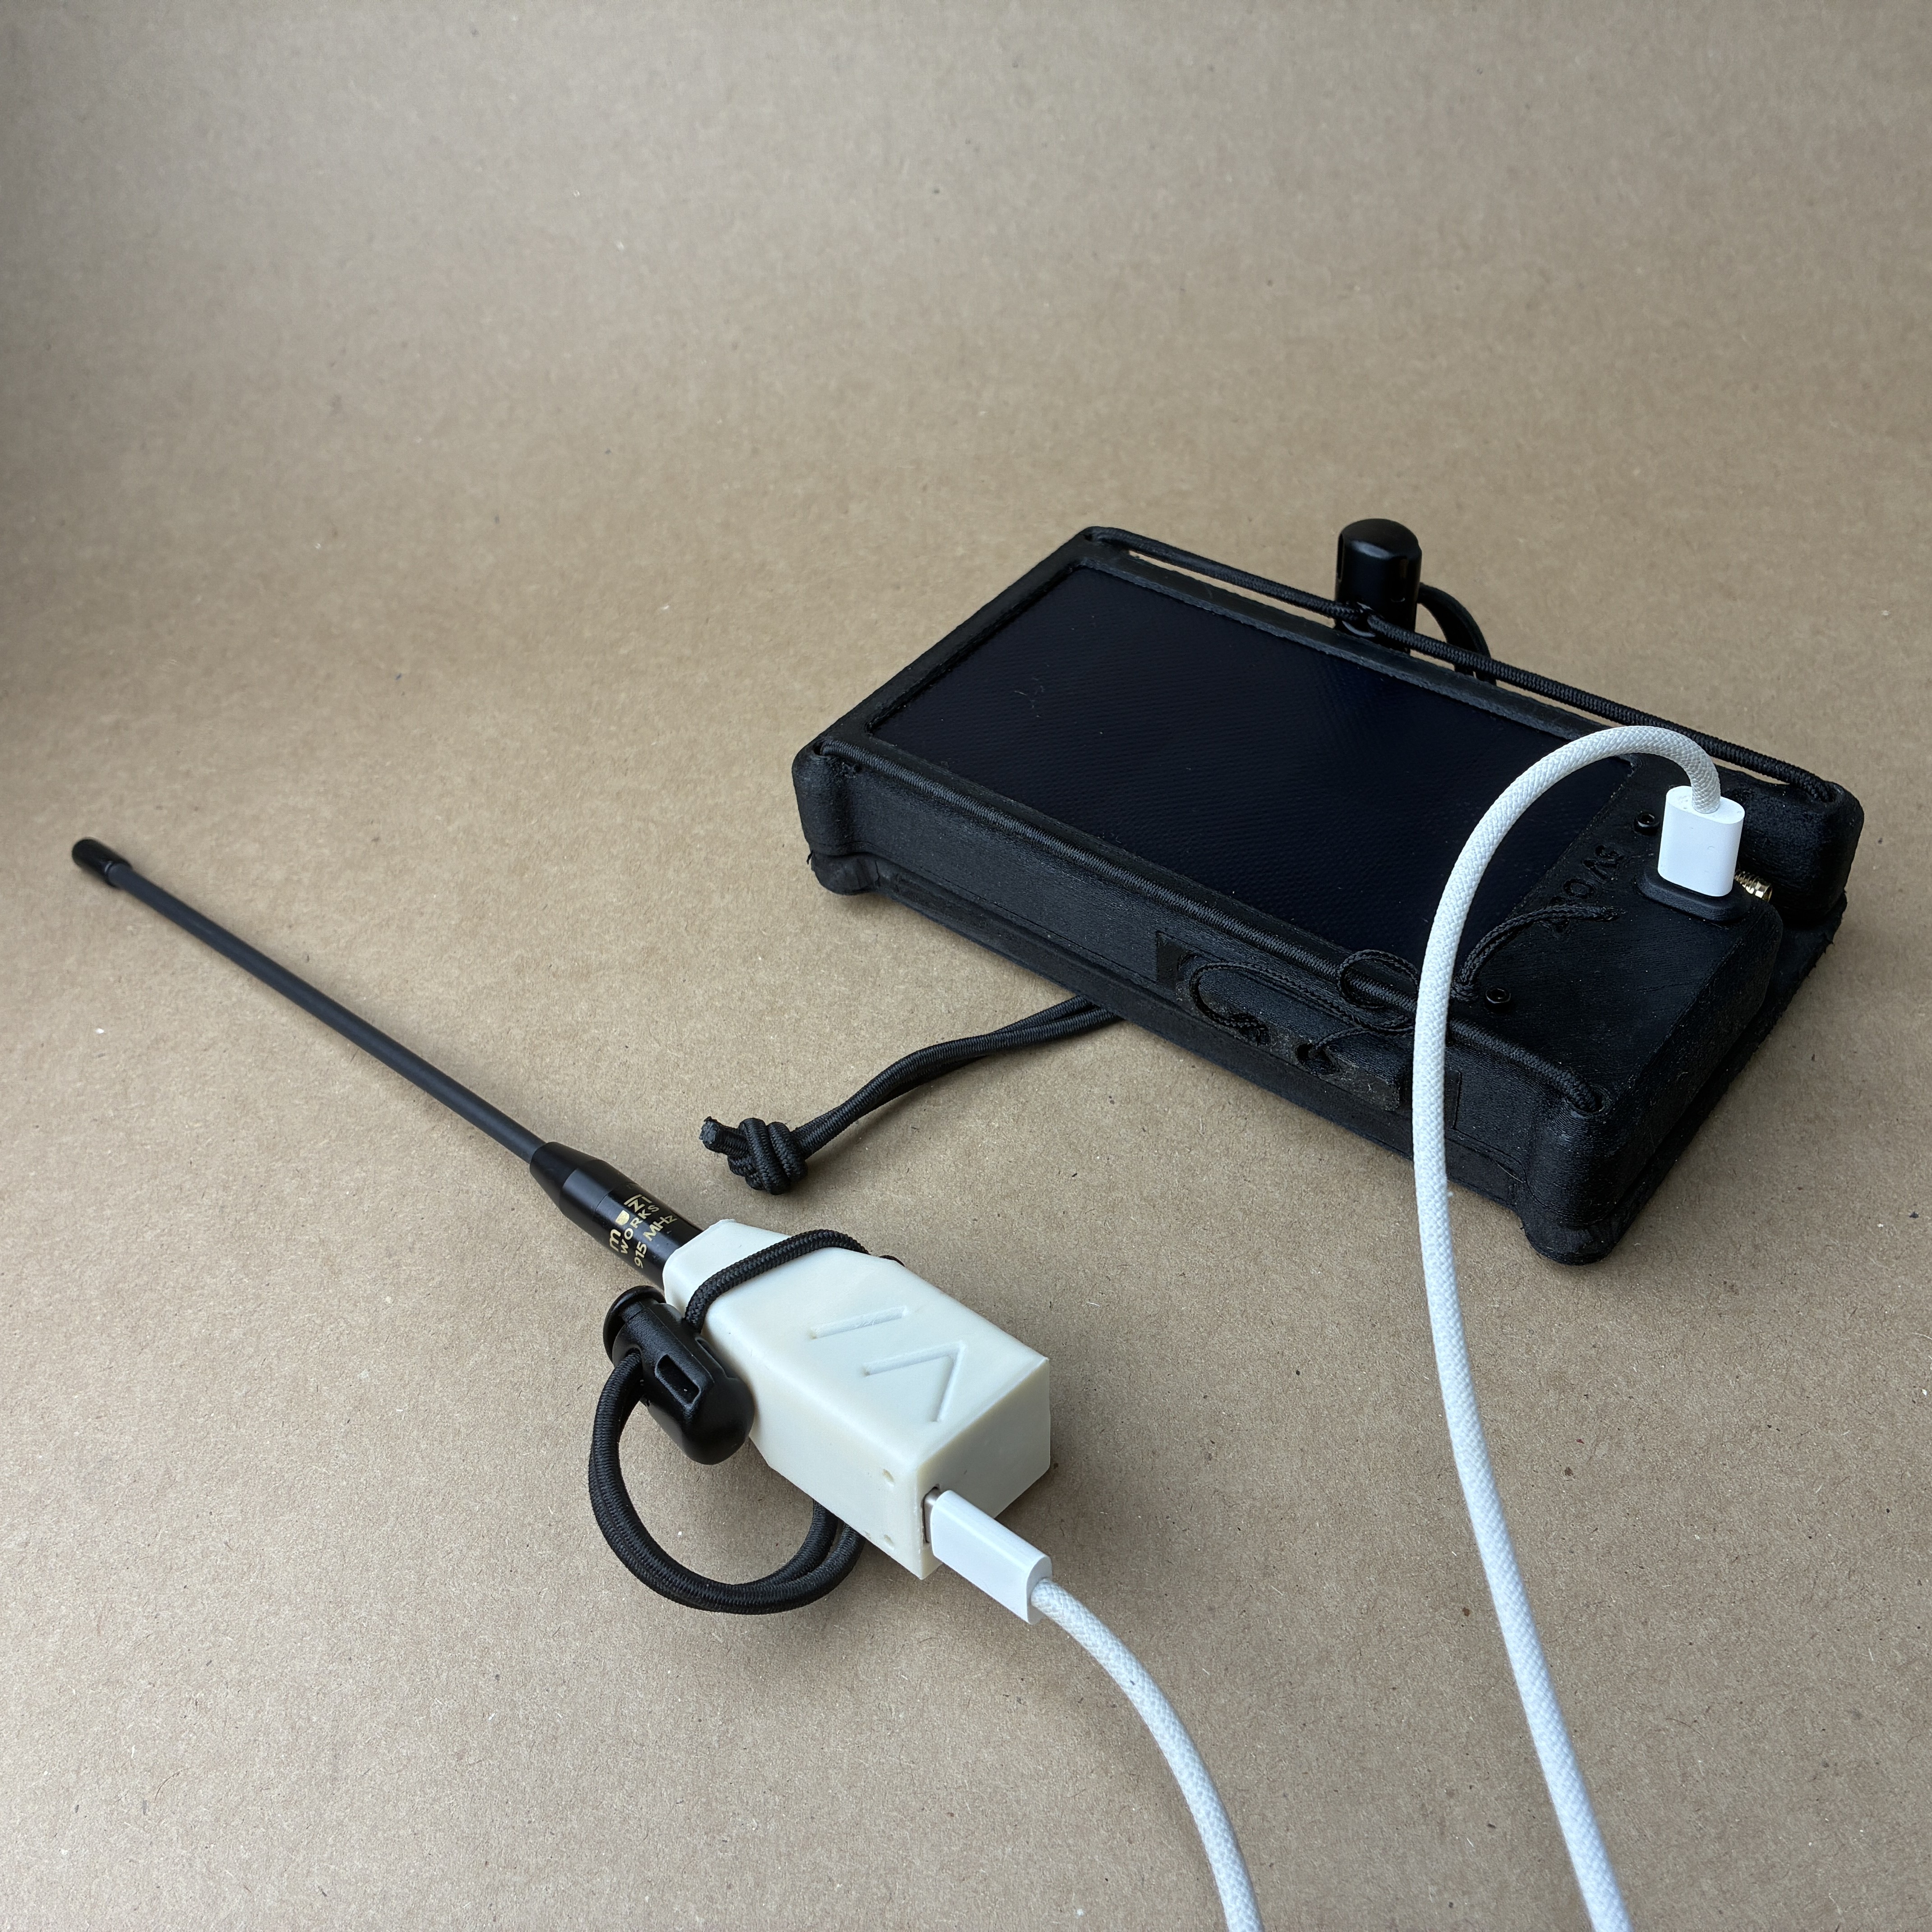
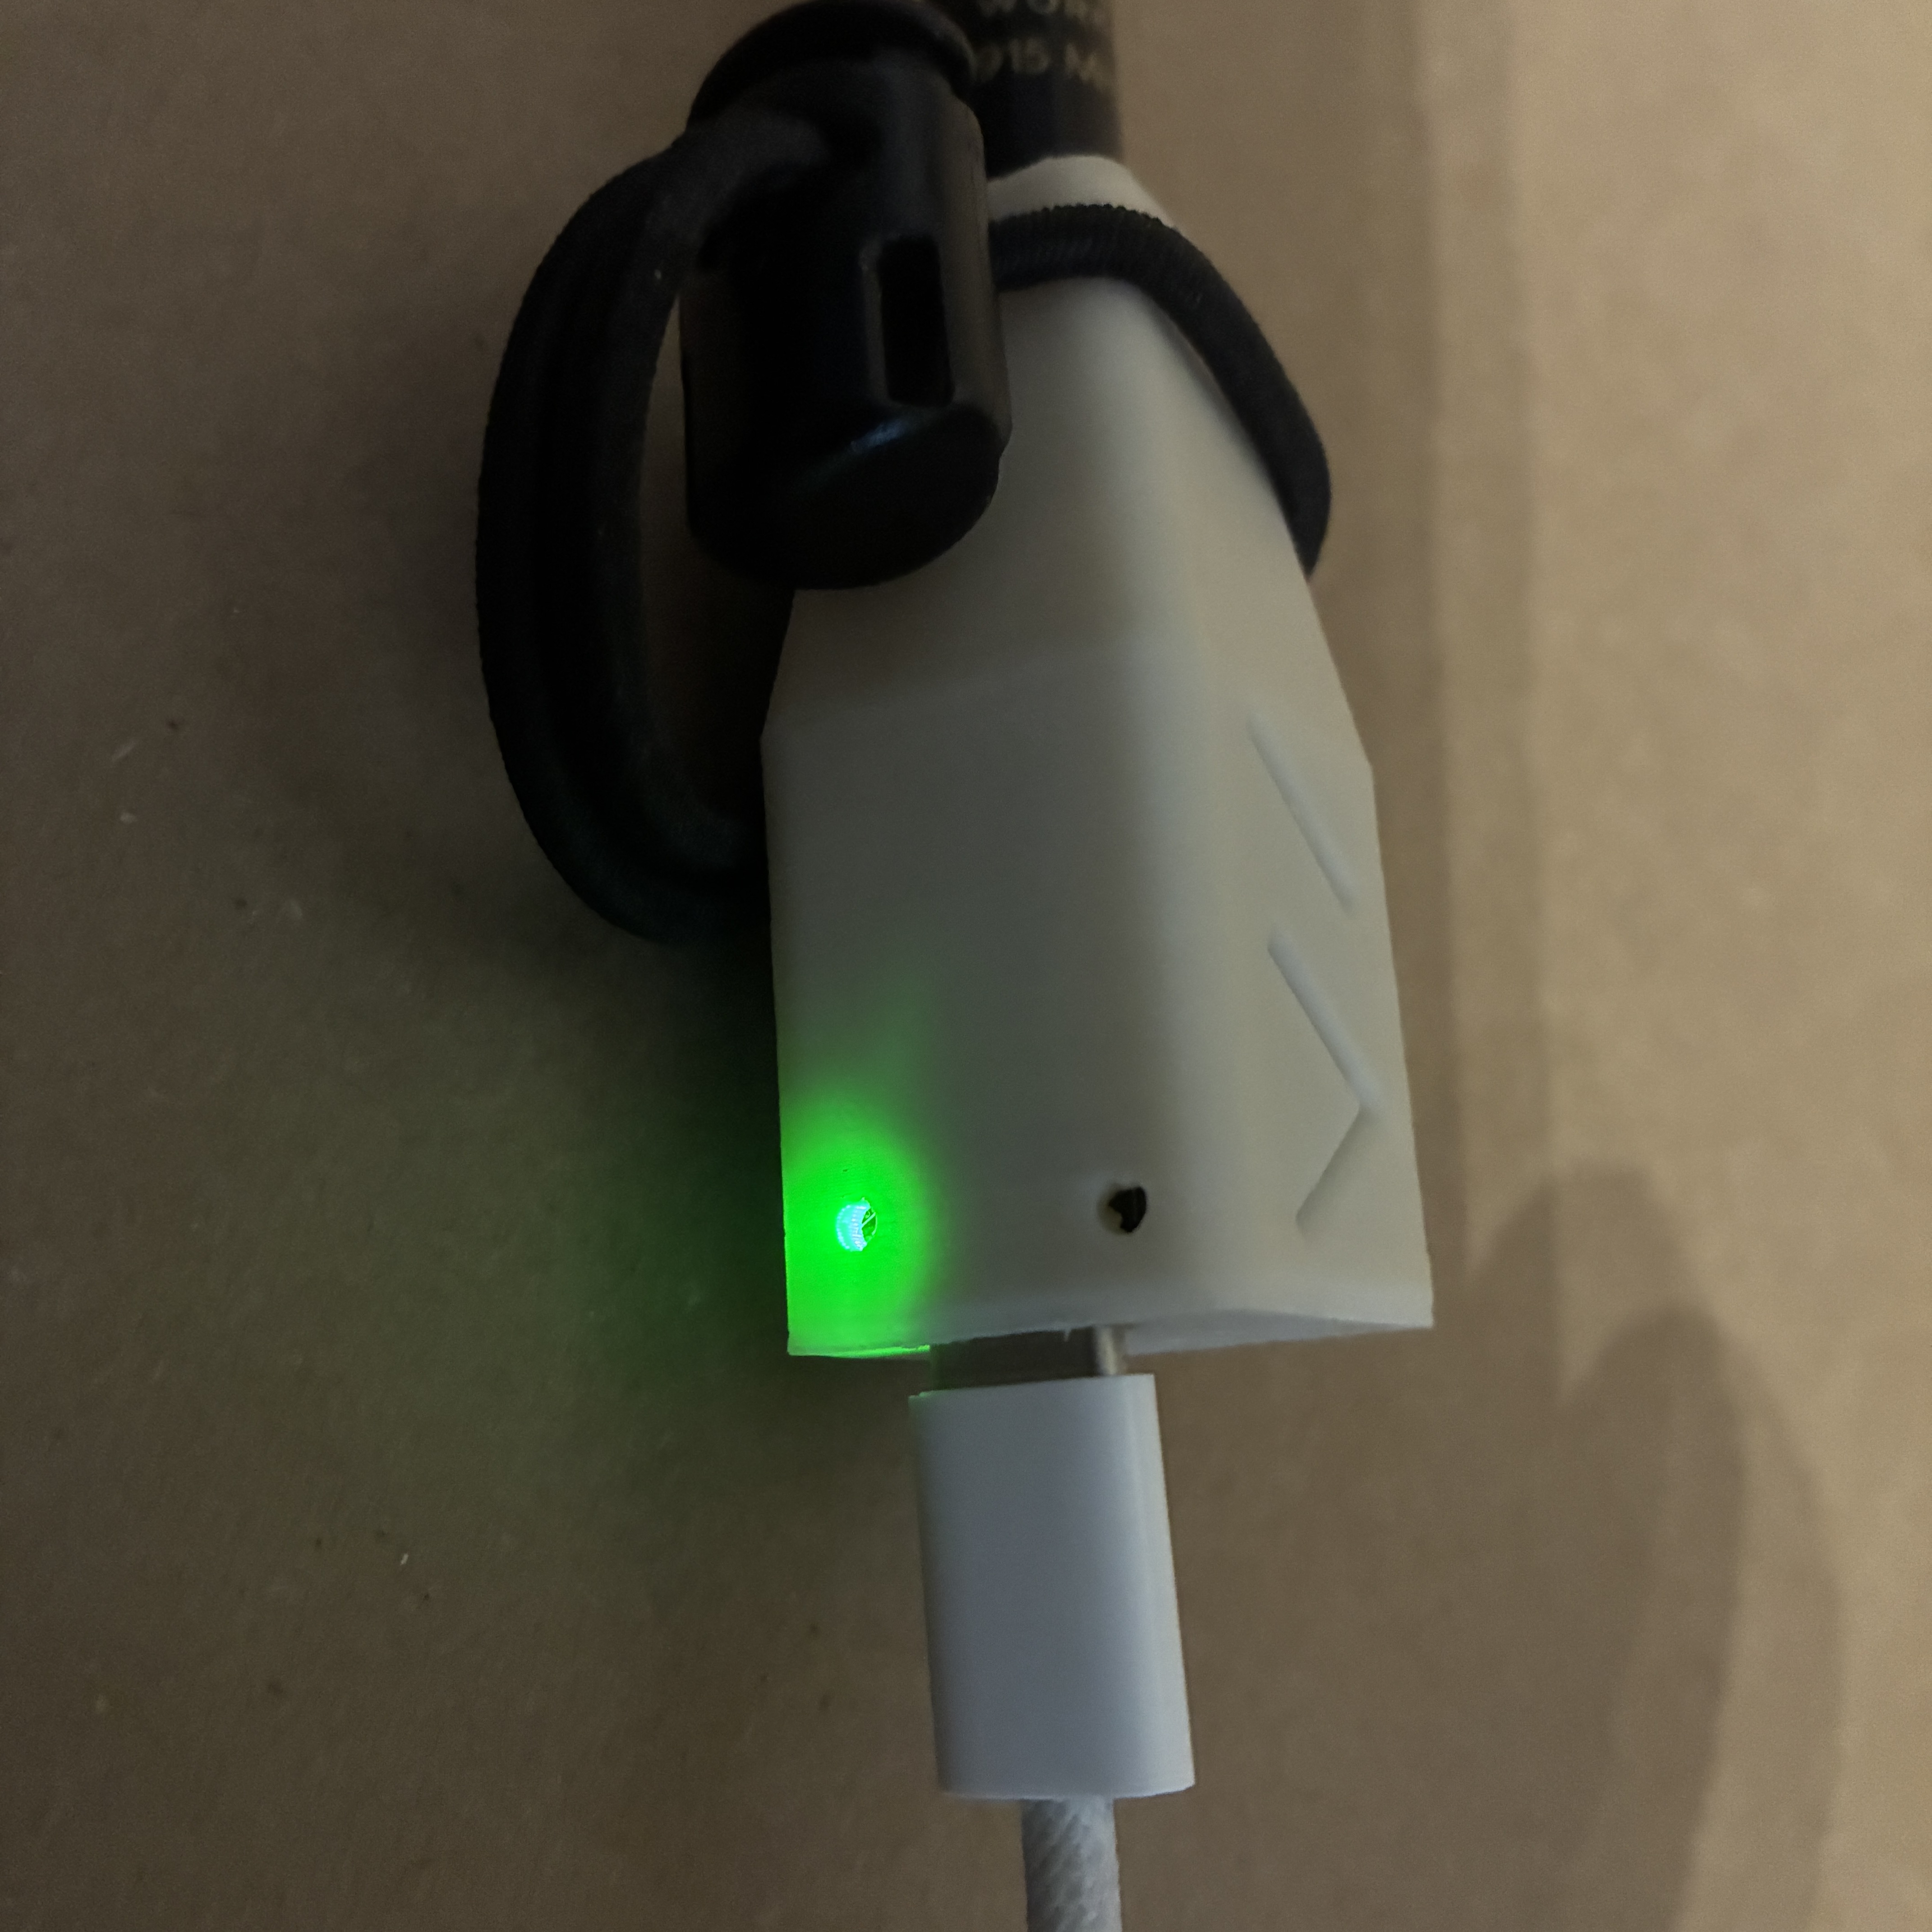
There is no battery or GPS integrated into these units, so you will power the node via USB-C cable, either from your device or a power bank. A smart device or computer is needed to operate these nodes anyways, so it’s only natural to power the node from your device, as well as take advantage of your phone’s GPS. Basically the only downside is having the cord, which is admittedly somewhat awkward, but the nRF52 boards are so efficient that you won’t notice any affect whatsoever on your phone’s battery life.
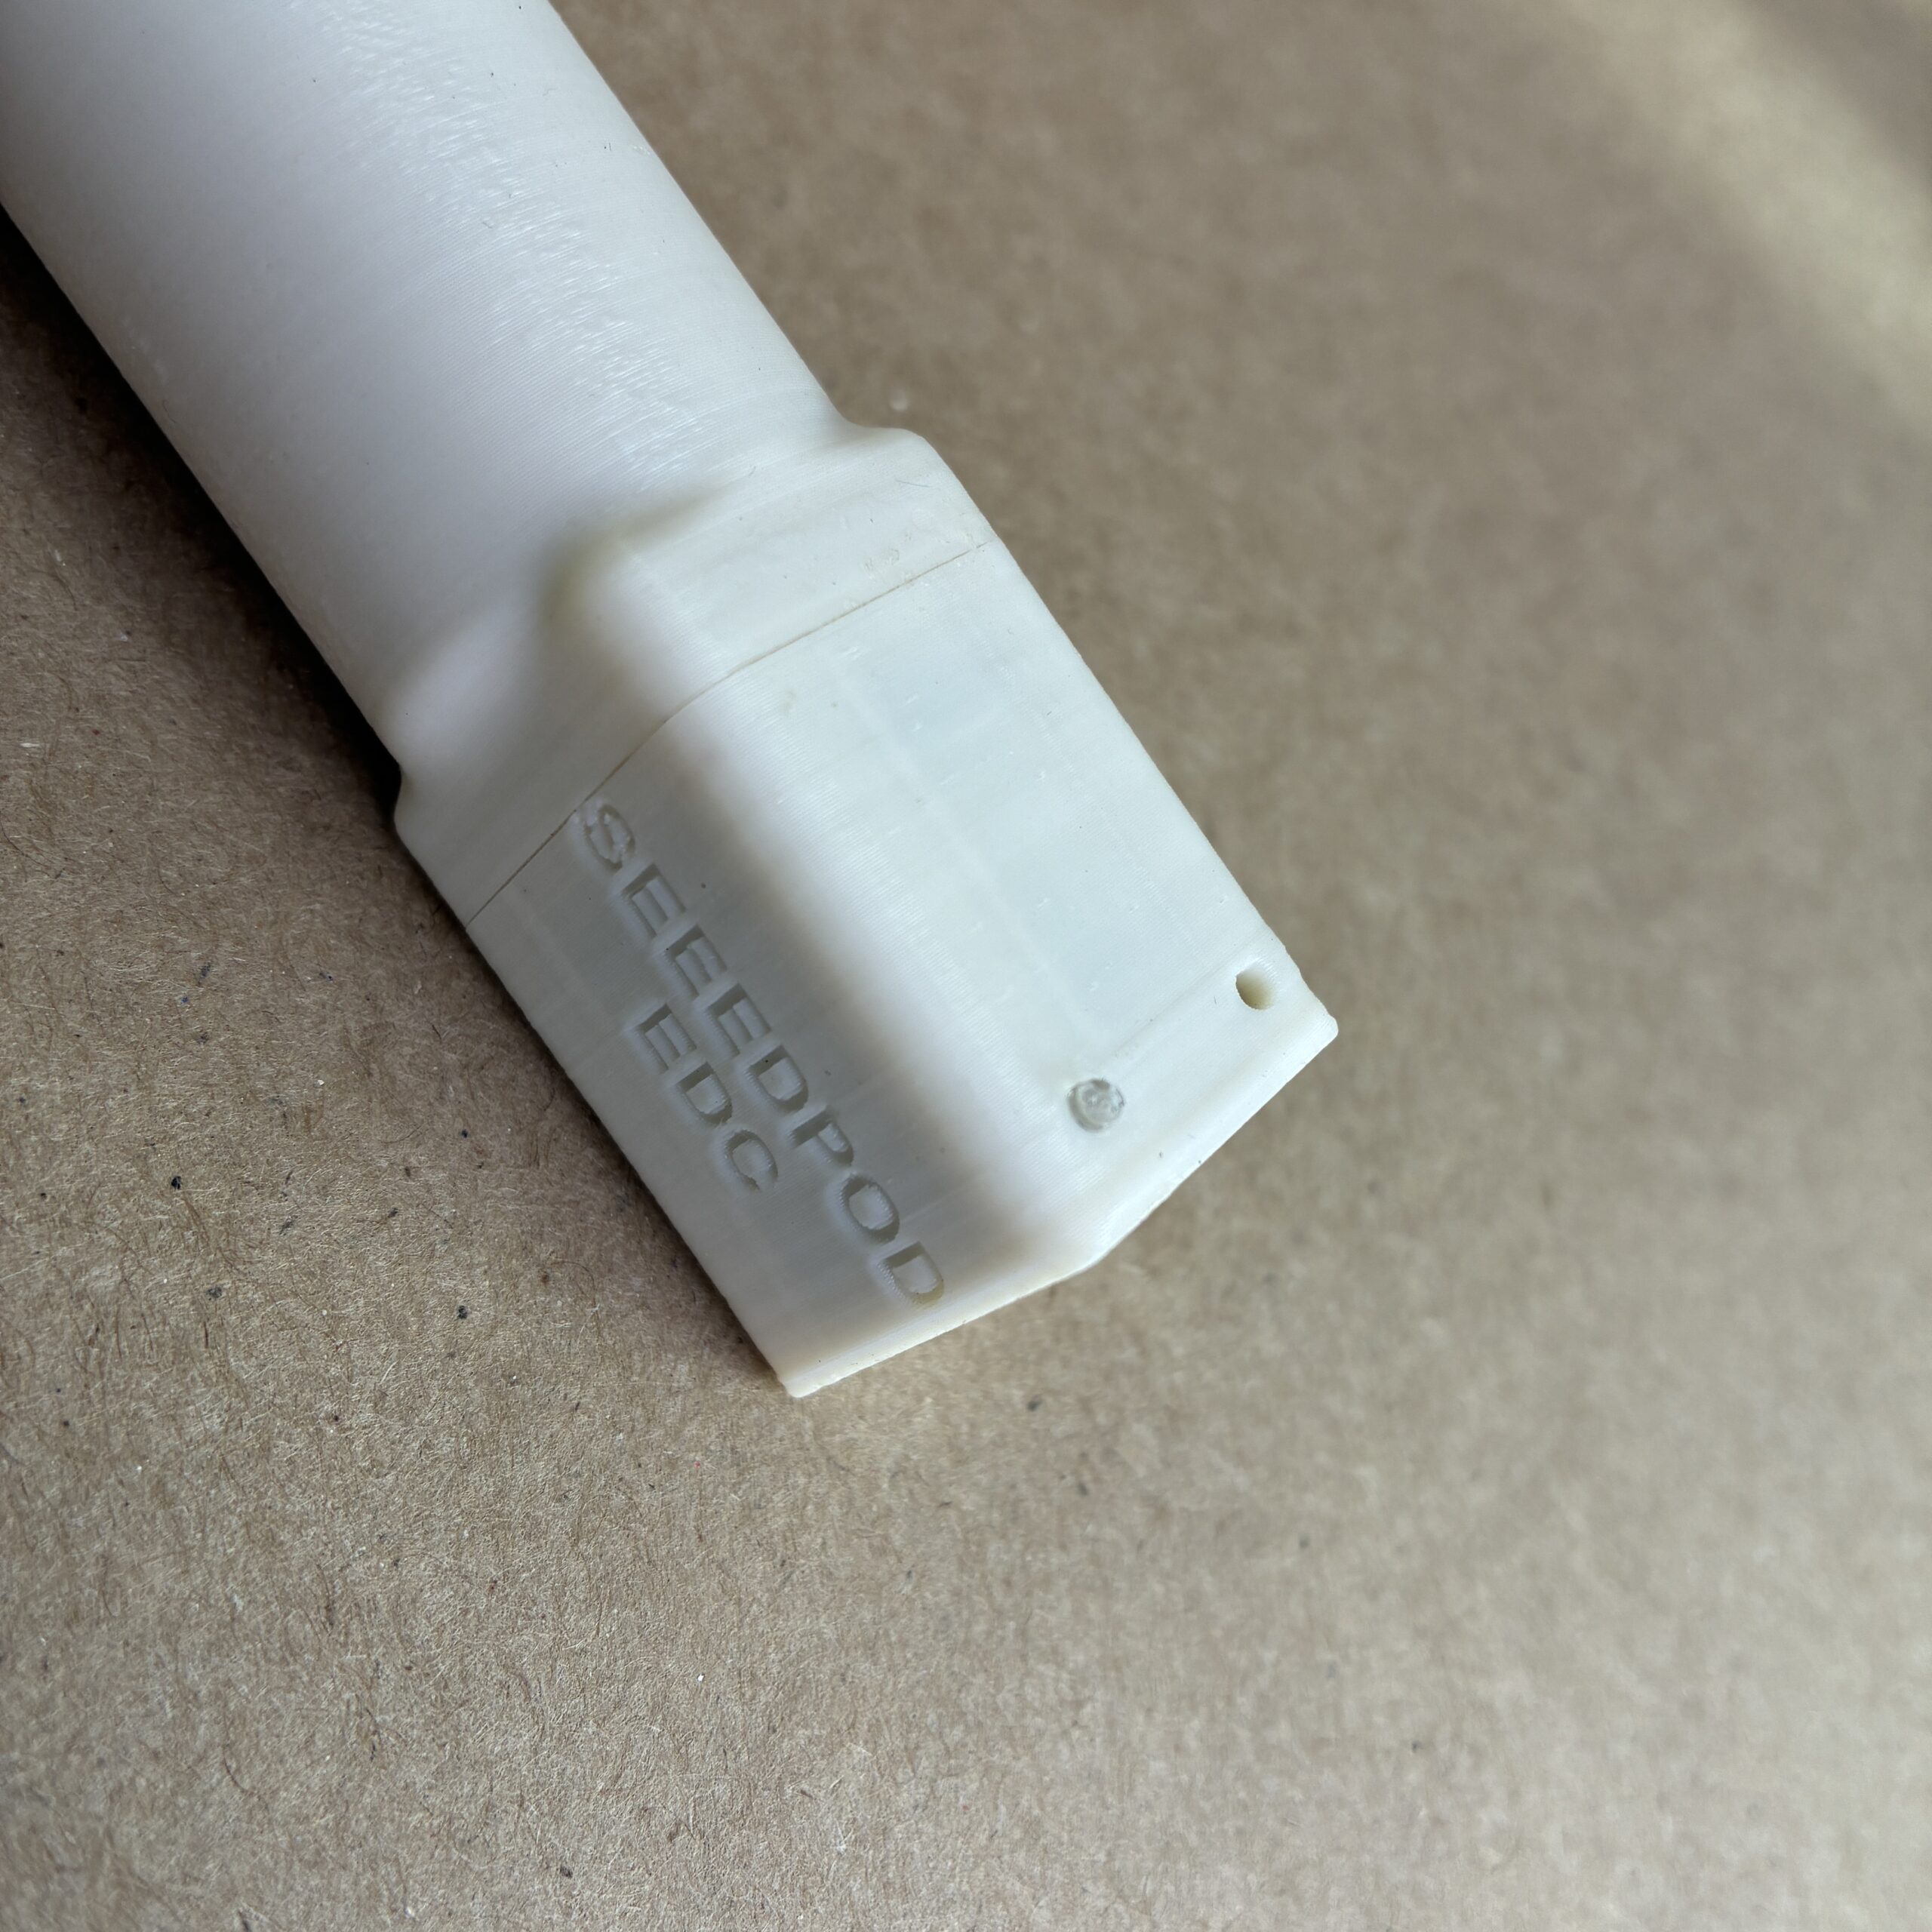
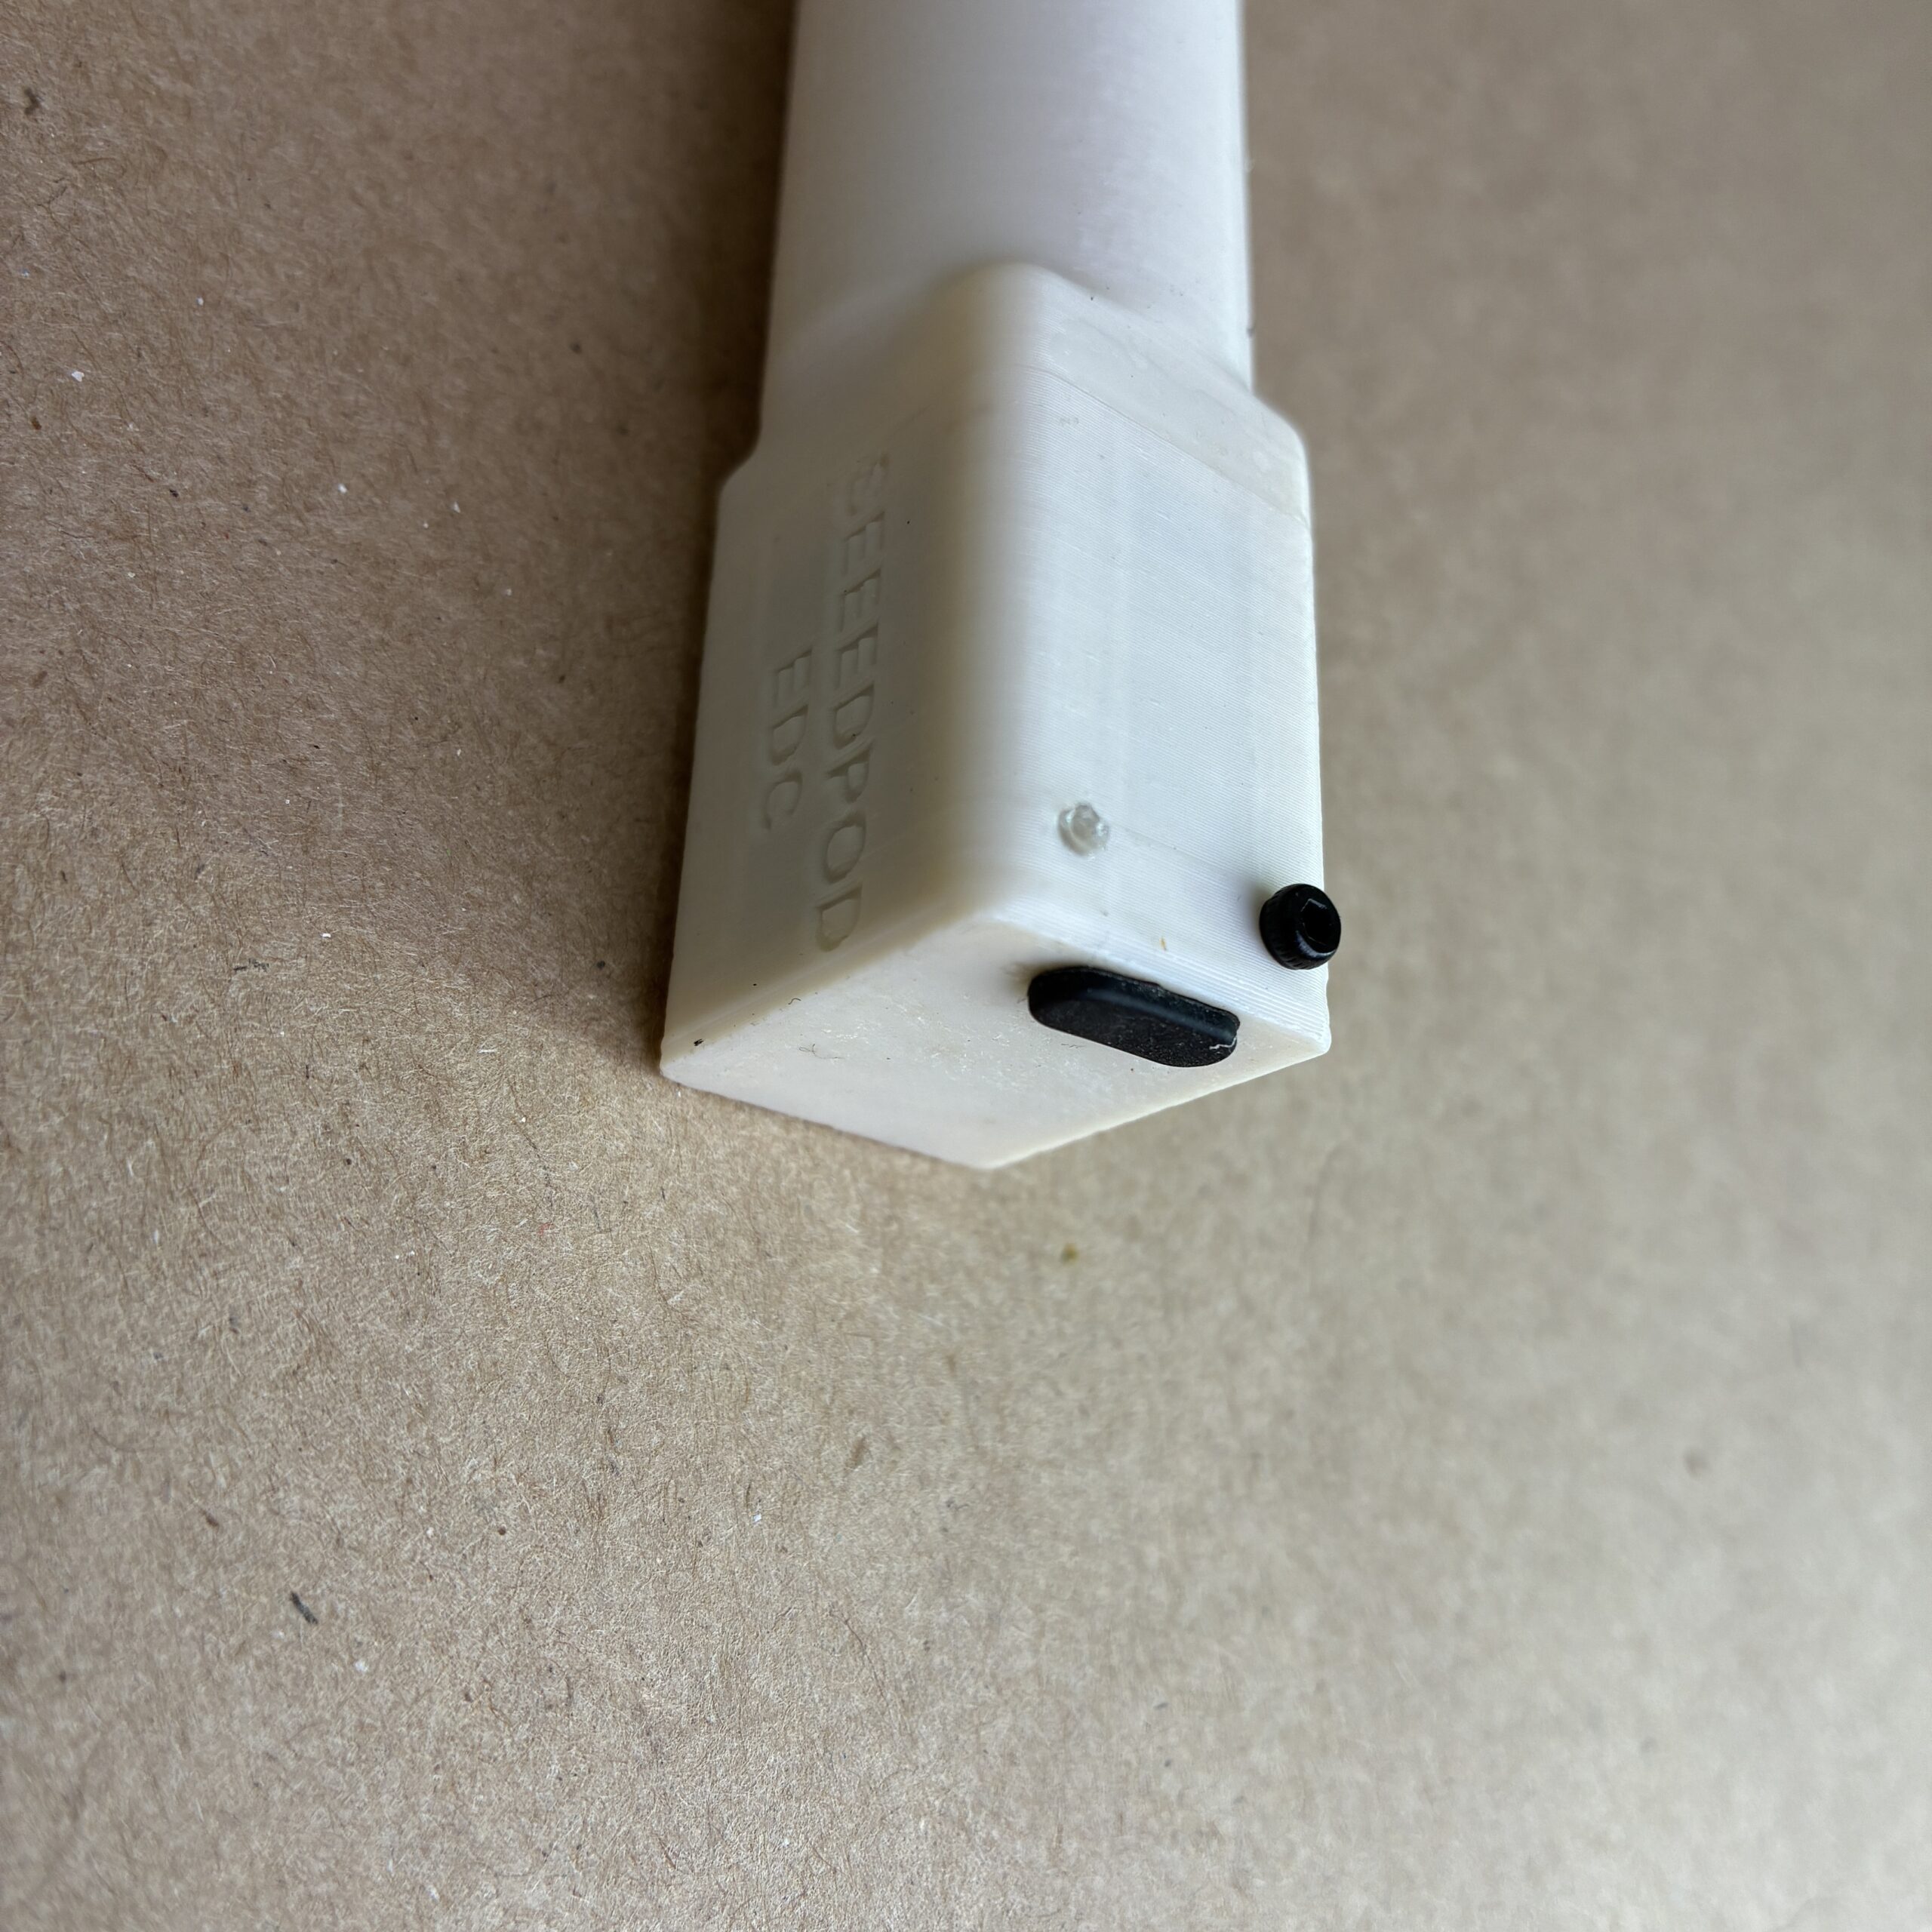
With the USB-C cable plugged in (or a silicone cover installed), the housing gives about IP-65 dust and water protection (dust and splash proof), which is as good or better than your phone. The only catch is there are two little holes in the housing (one for the reset button and one for the LED indicator light), and you can cover those with tape or plug them with a little hot glue, silicone, etc. That, a quick rattle can paint job, and keeping the device oriented vertically while in use will make it resistant to even prolonged rain. You may also semi-permanently install the USB-C cable by sealing its connection with silicone, which, in addition to the previous mods, would make it fully IP-67 waterproof.
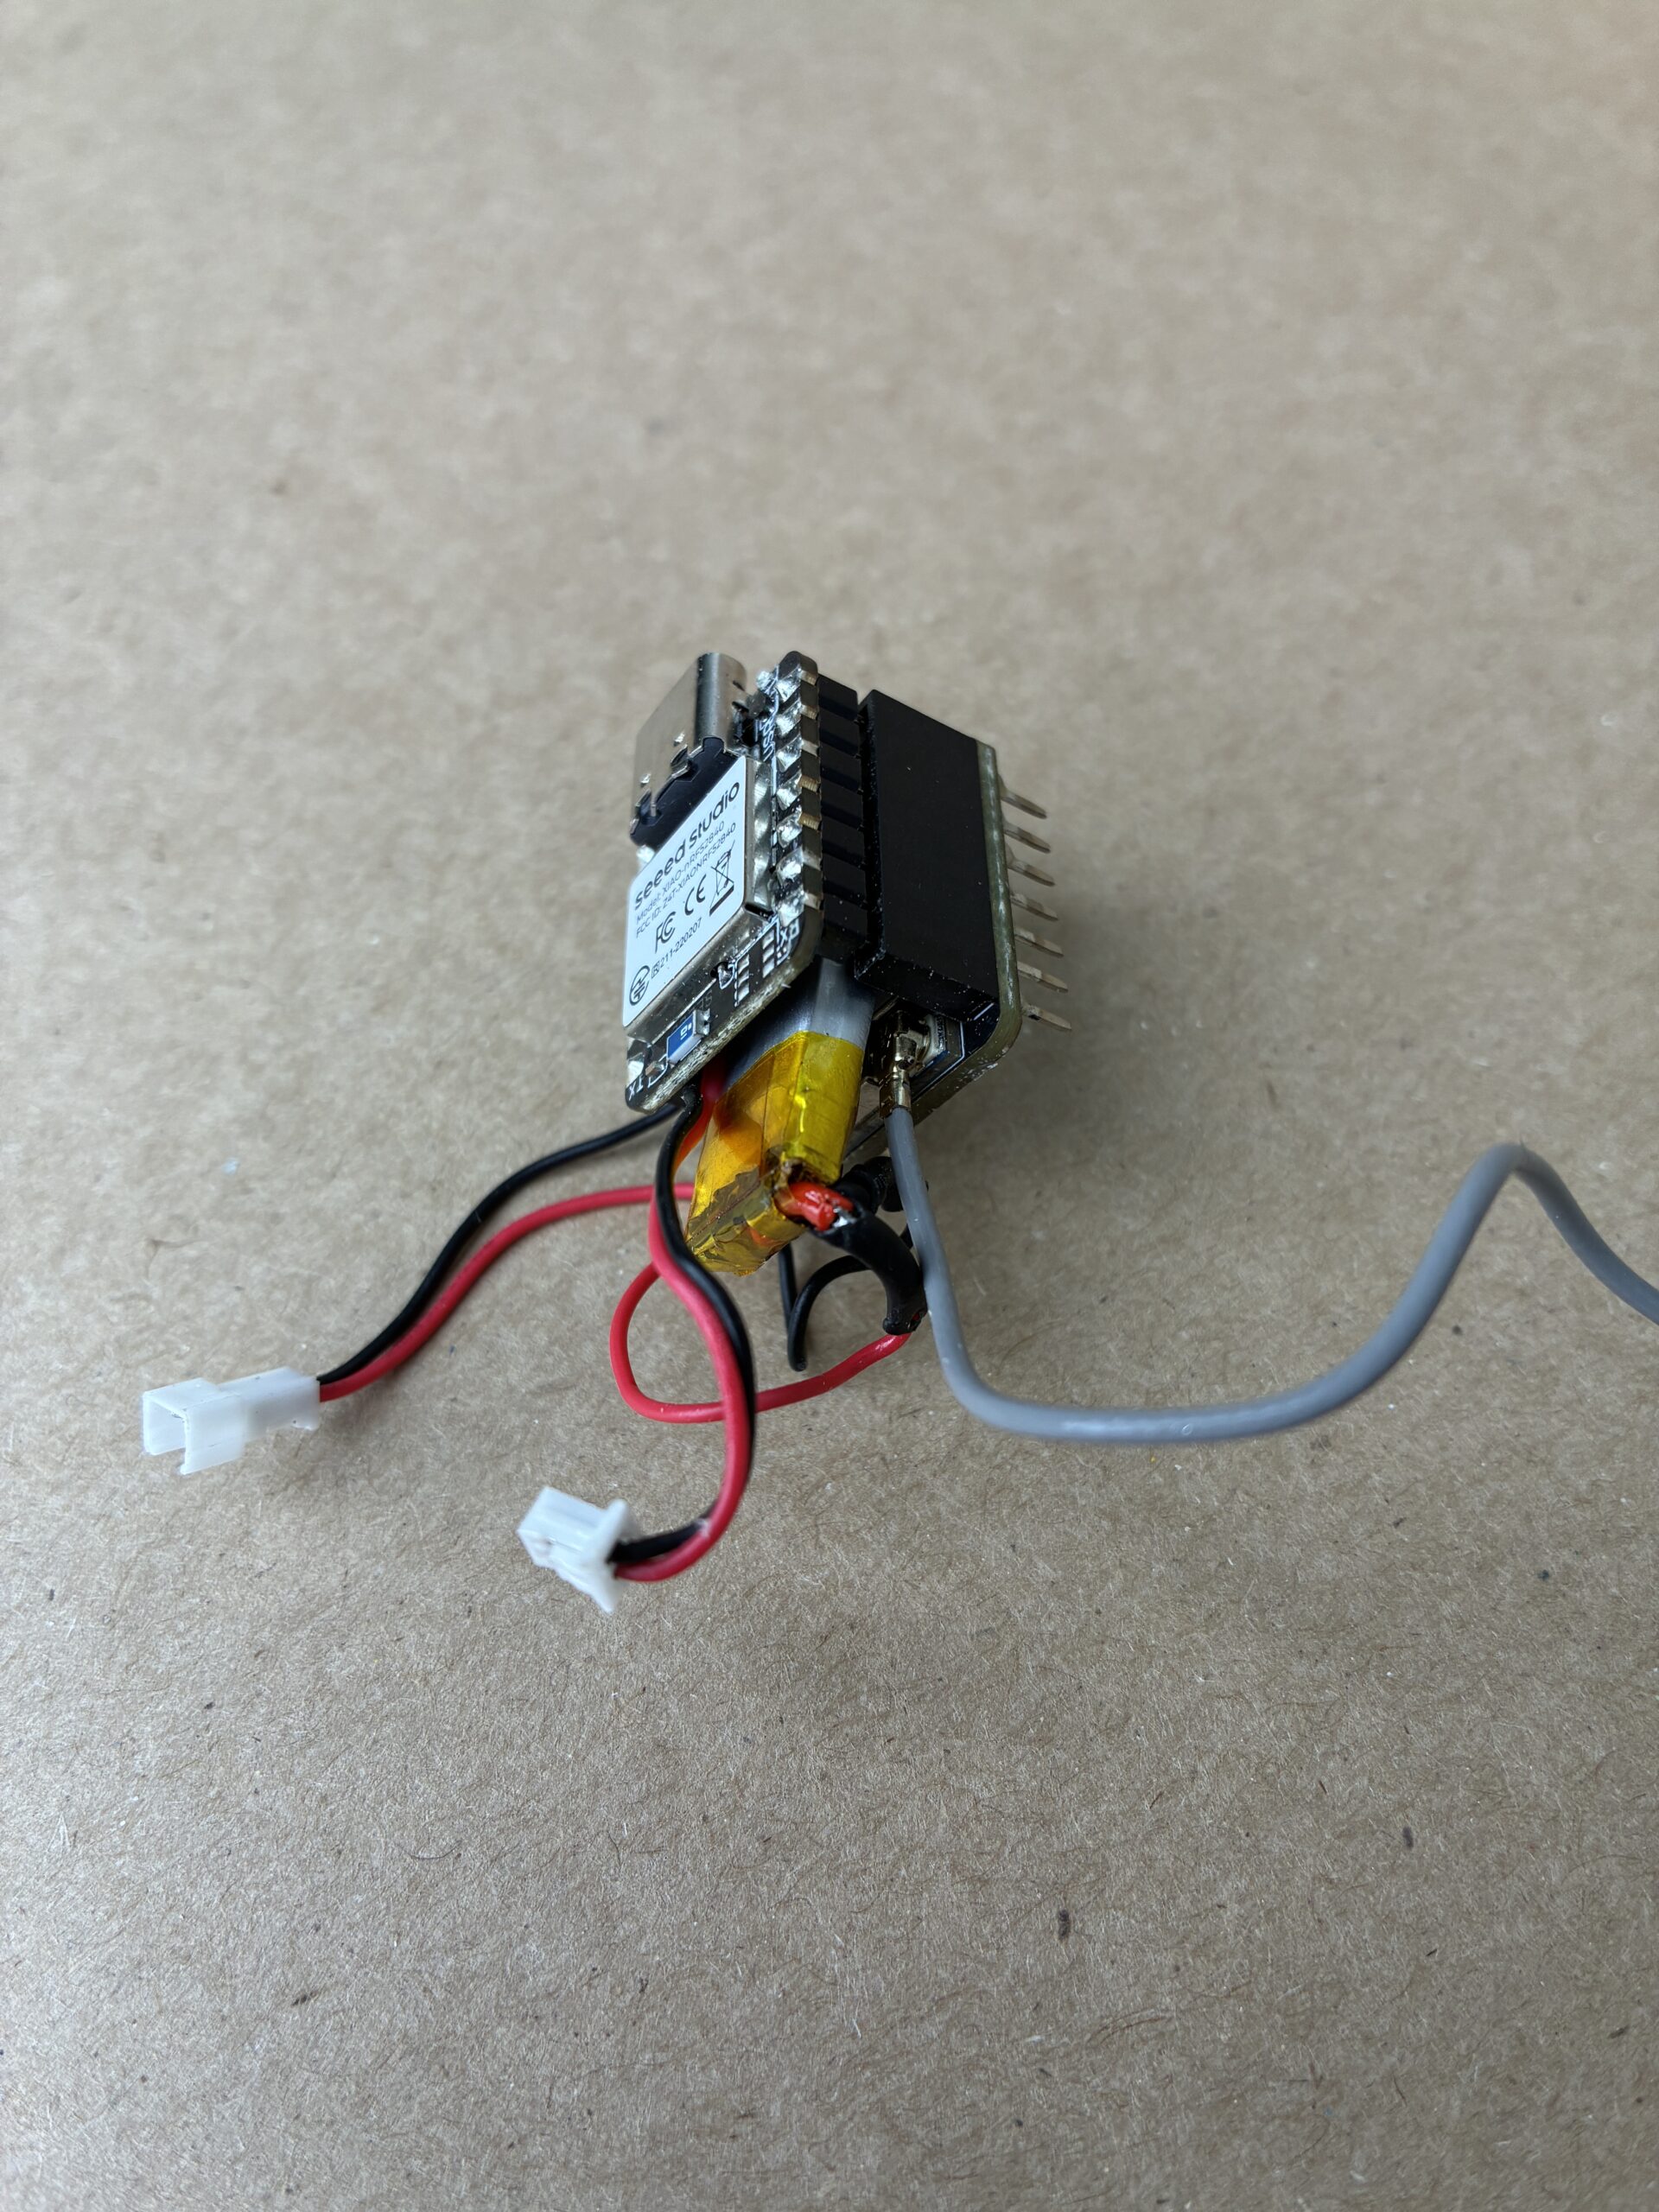
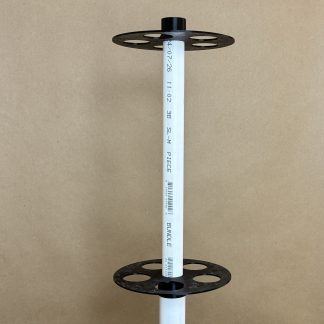
Another use case for the EDC Lite is if you want a very compact node and don’t require much battery capacity you can fit a small pouch cell battery in-between the boards, that’s in the range of 50-100mah. This is enough to power the device for a few hours to an entire day, depending on battery and usage, and if off grid you can either use a solar panel or your smart device to recharge it. This option maintains the small footprint while giving you the freedom to untether yourself for a while. I’m using the Adafruit 1570, which fits very well, and powers the device for 10-15 hours and takes 4-5 hours to charge.
Notes on version:
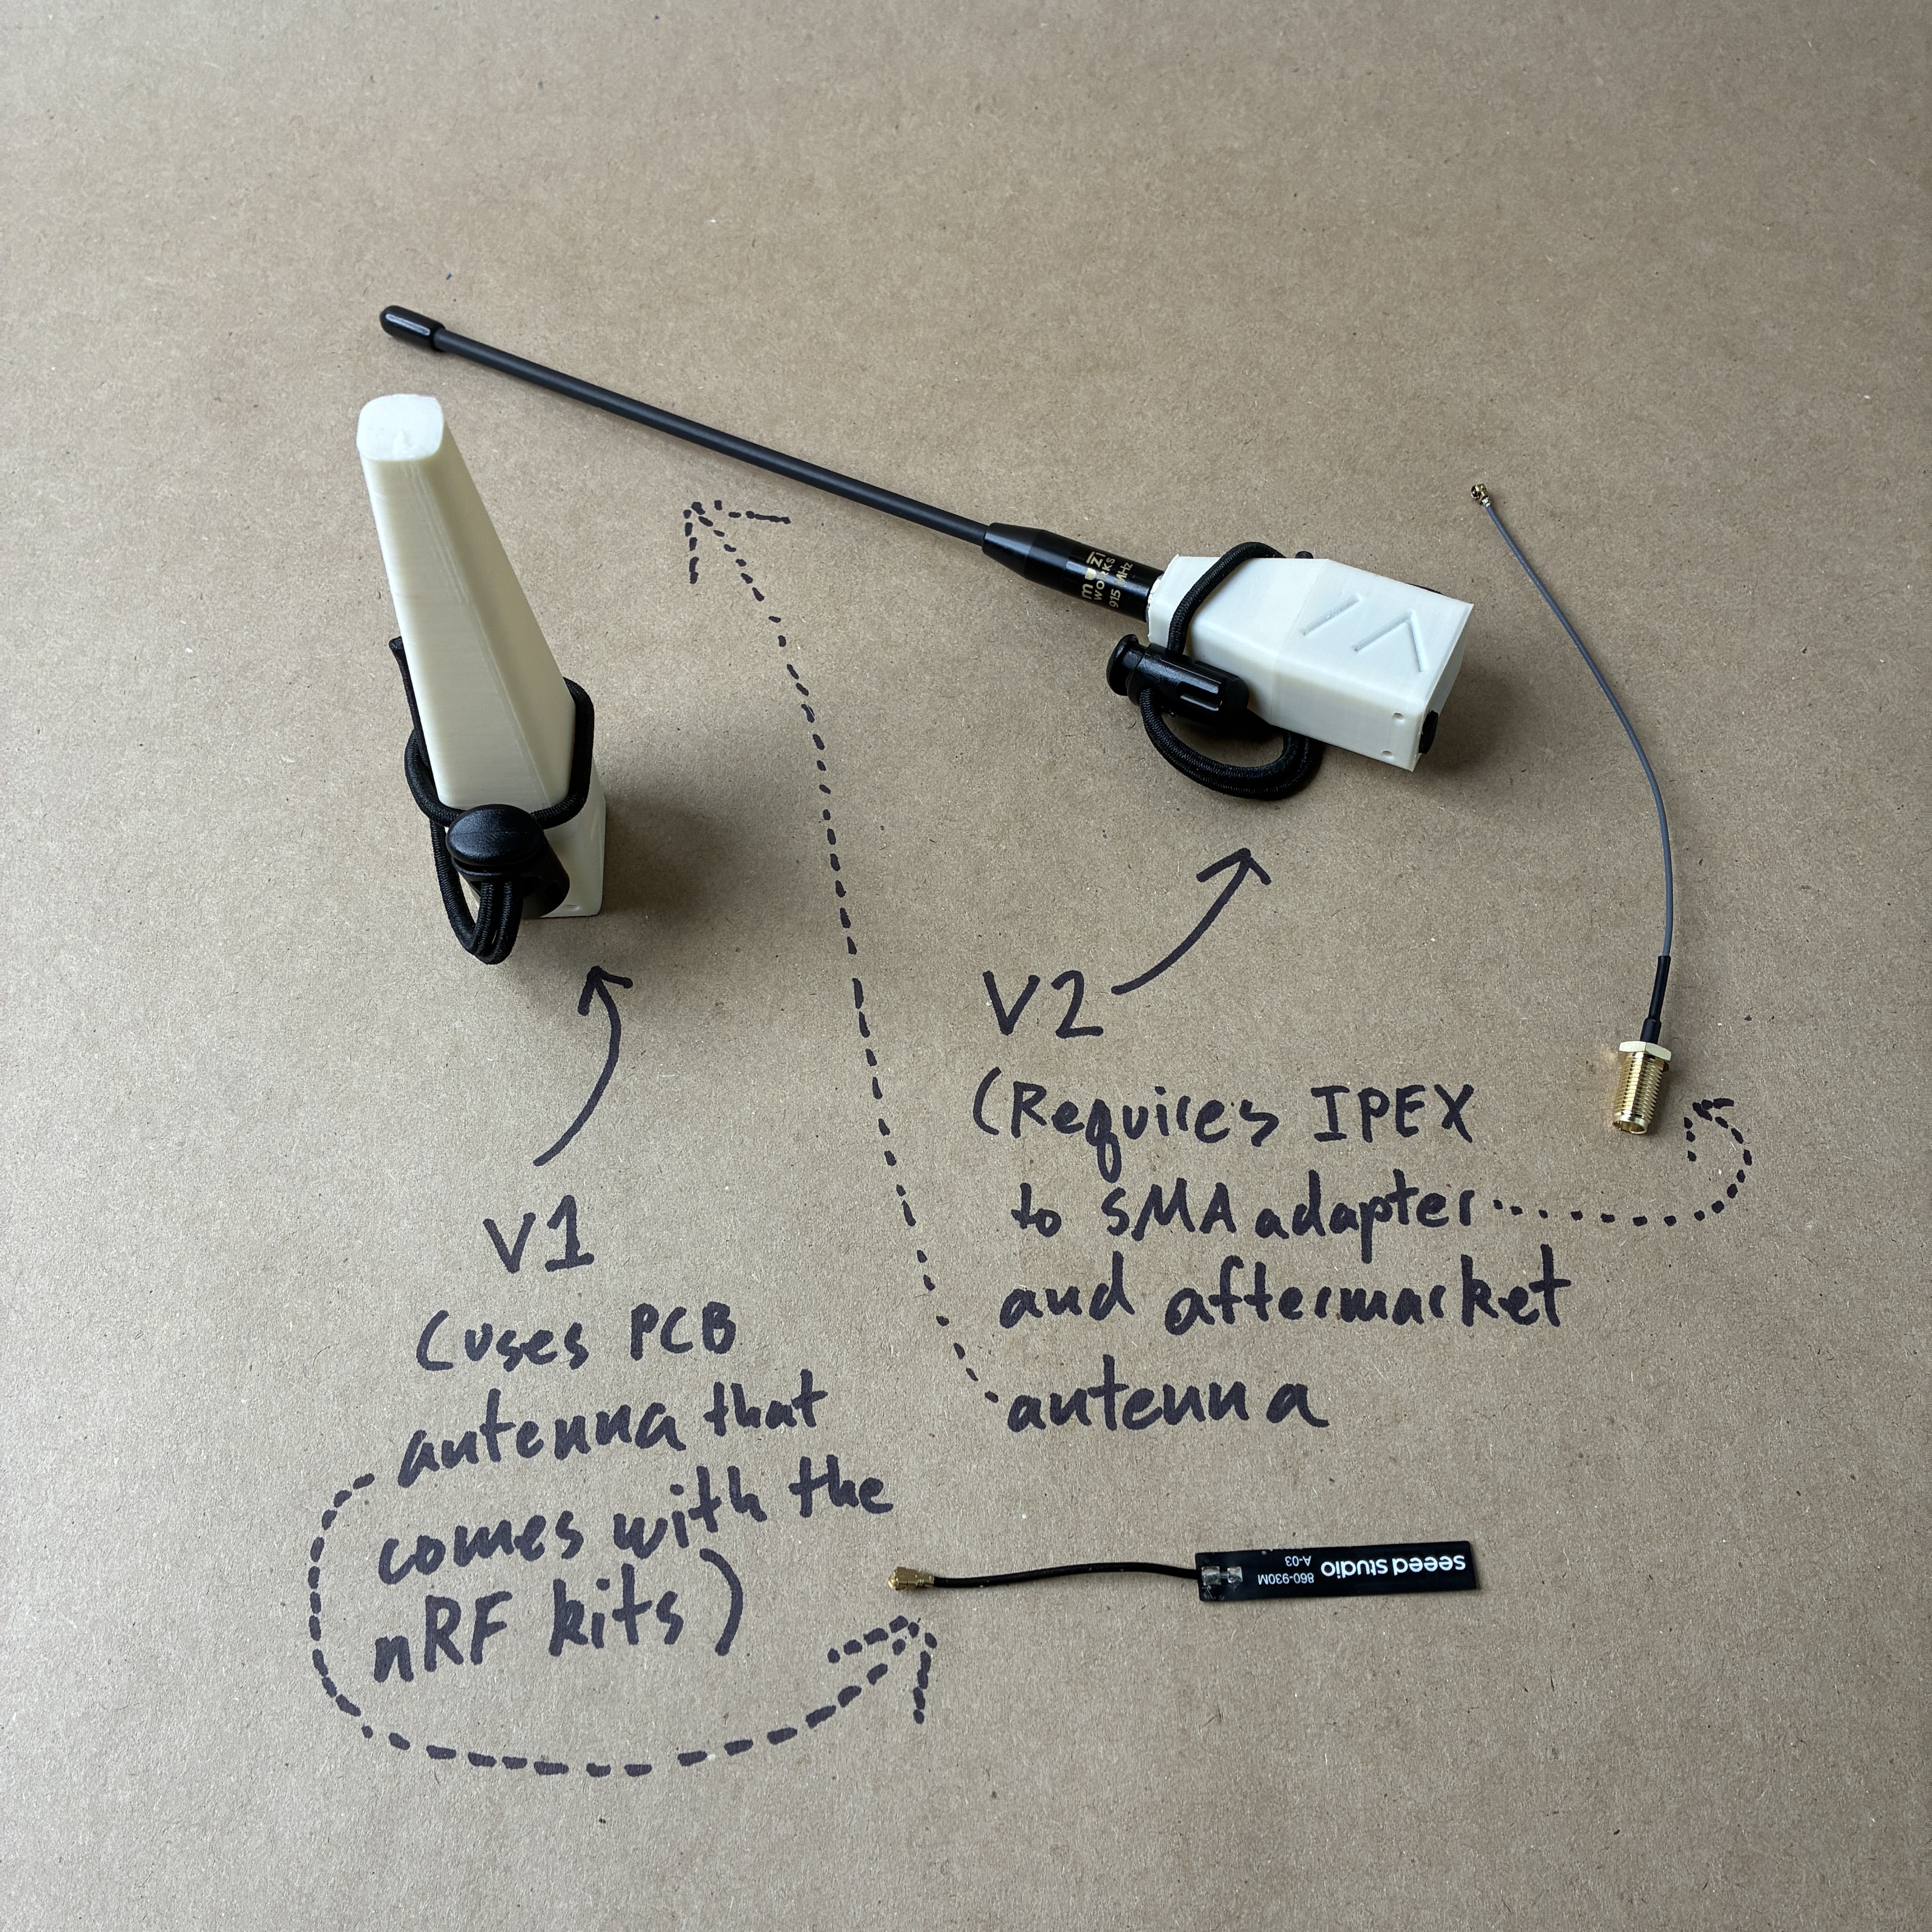
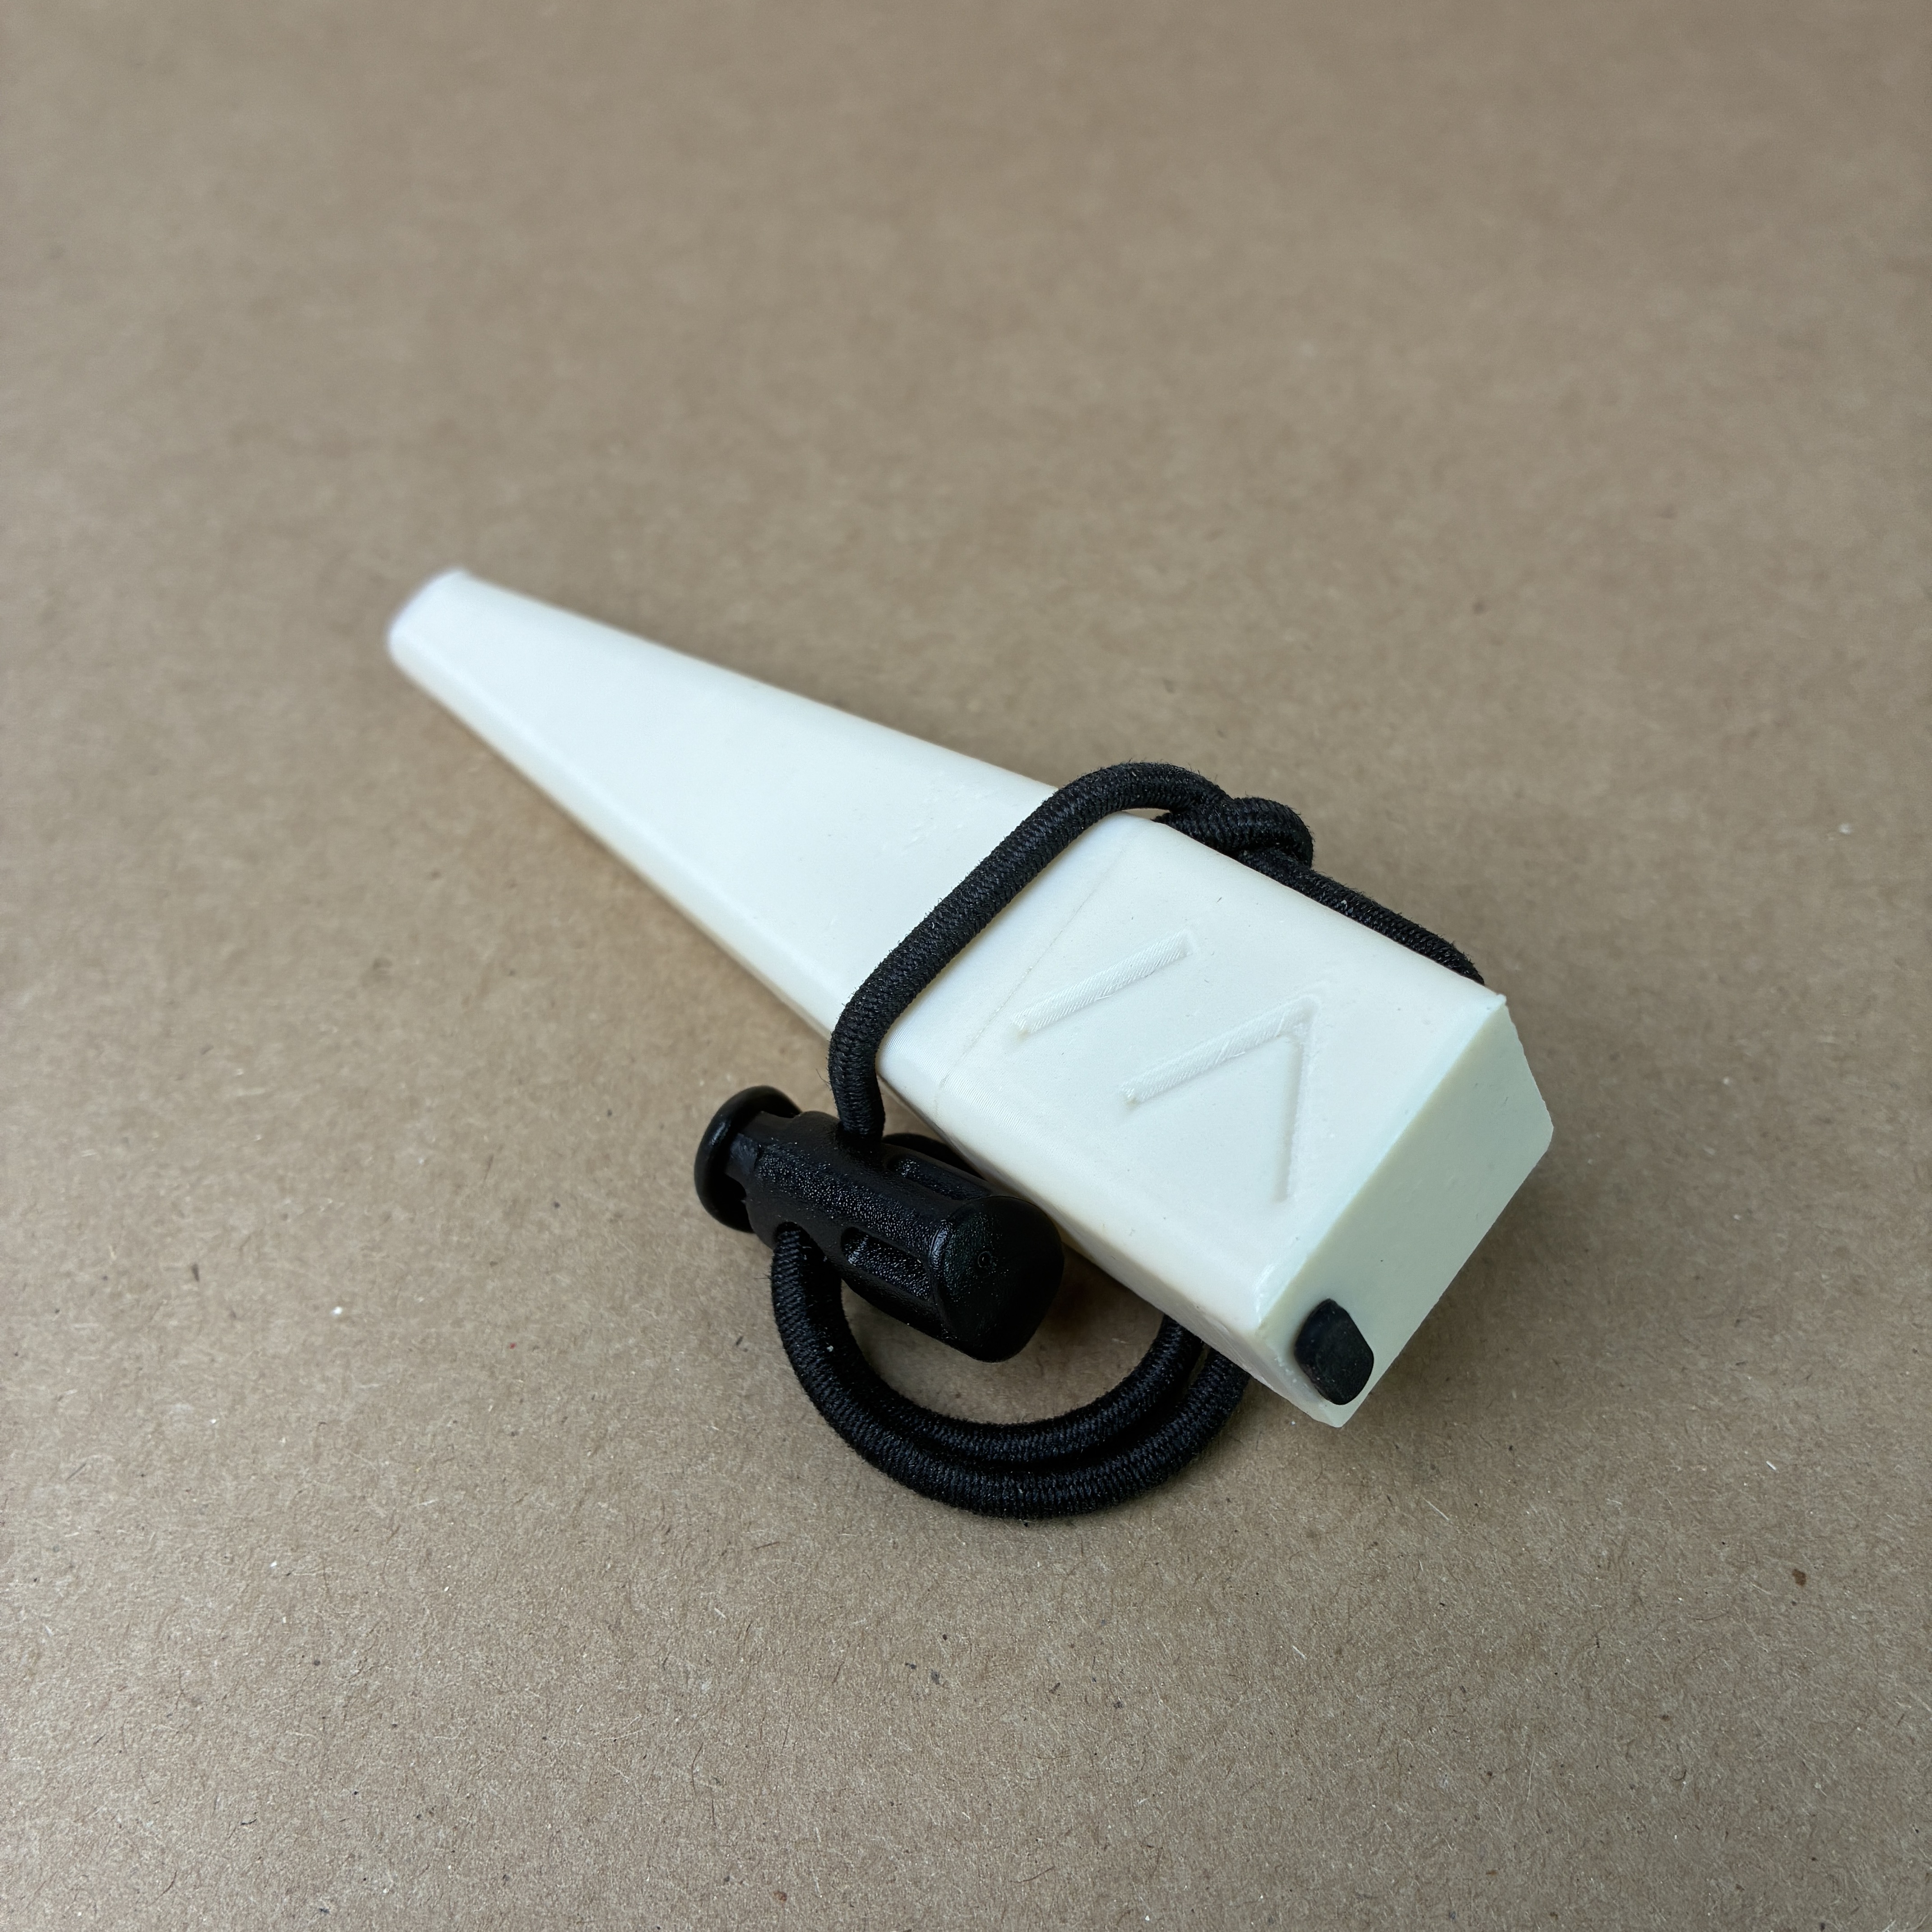
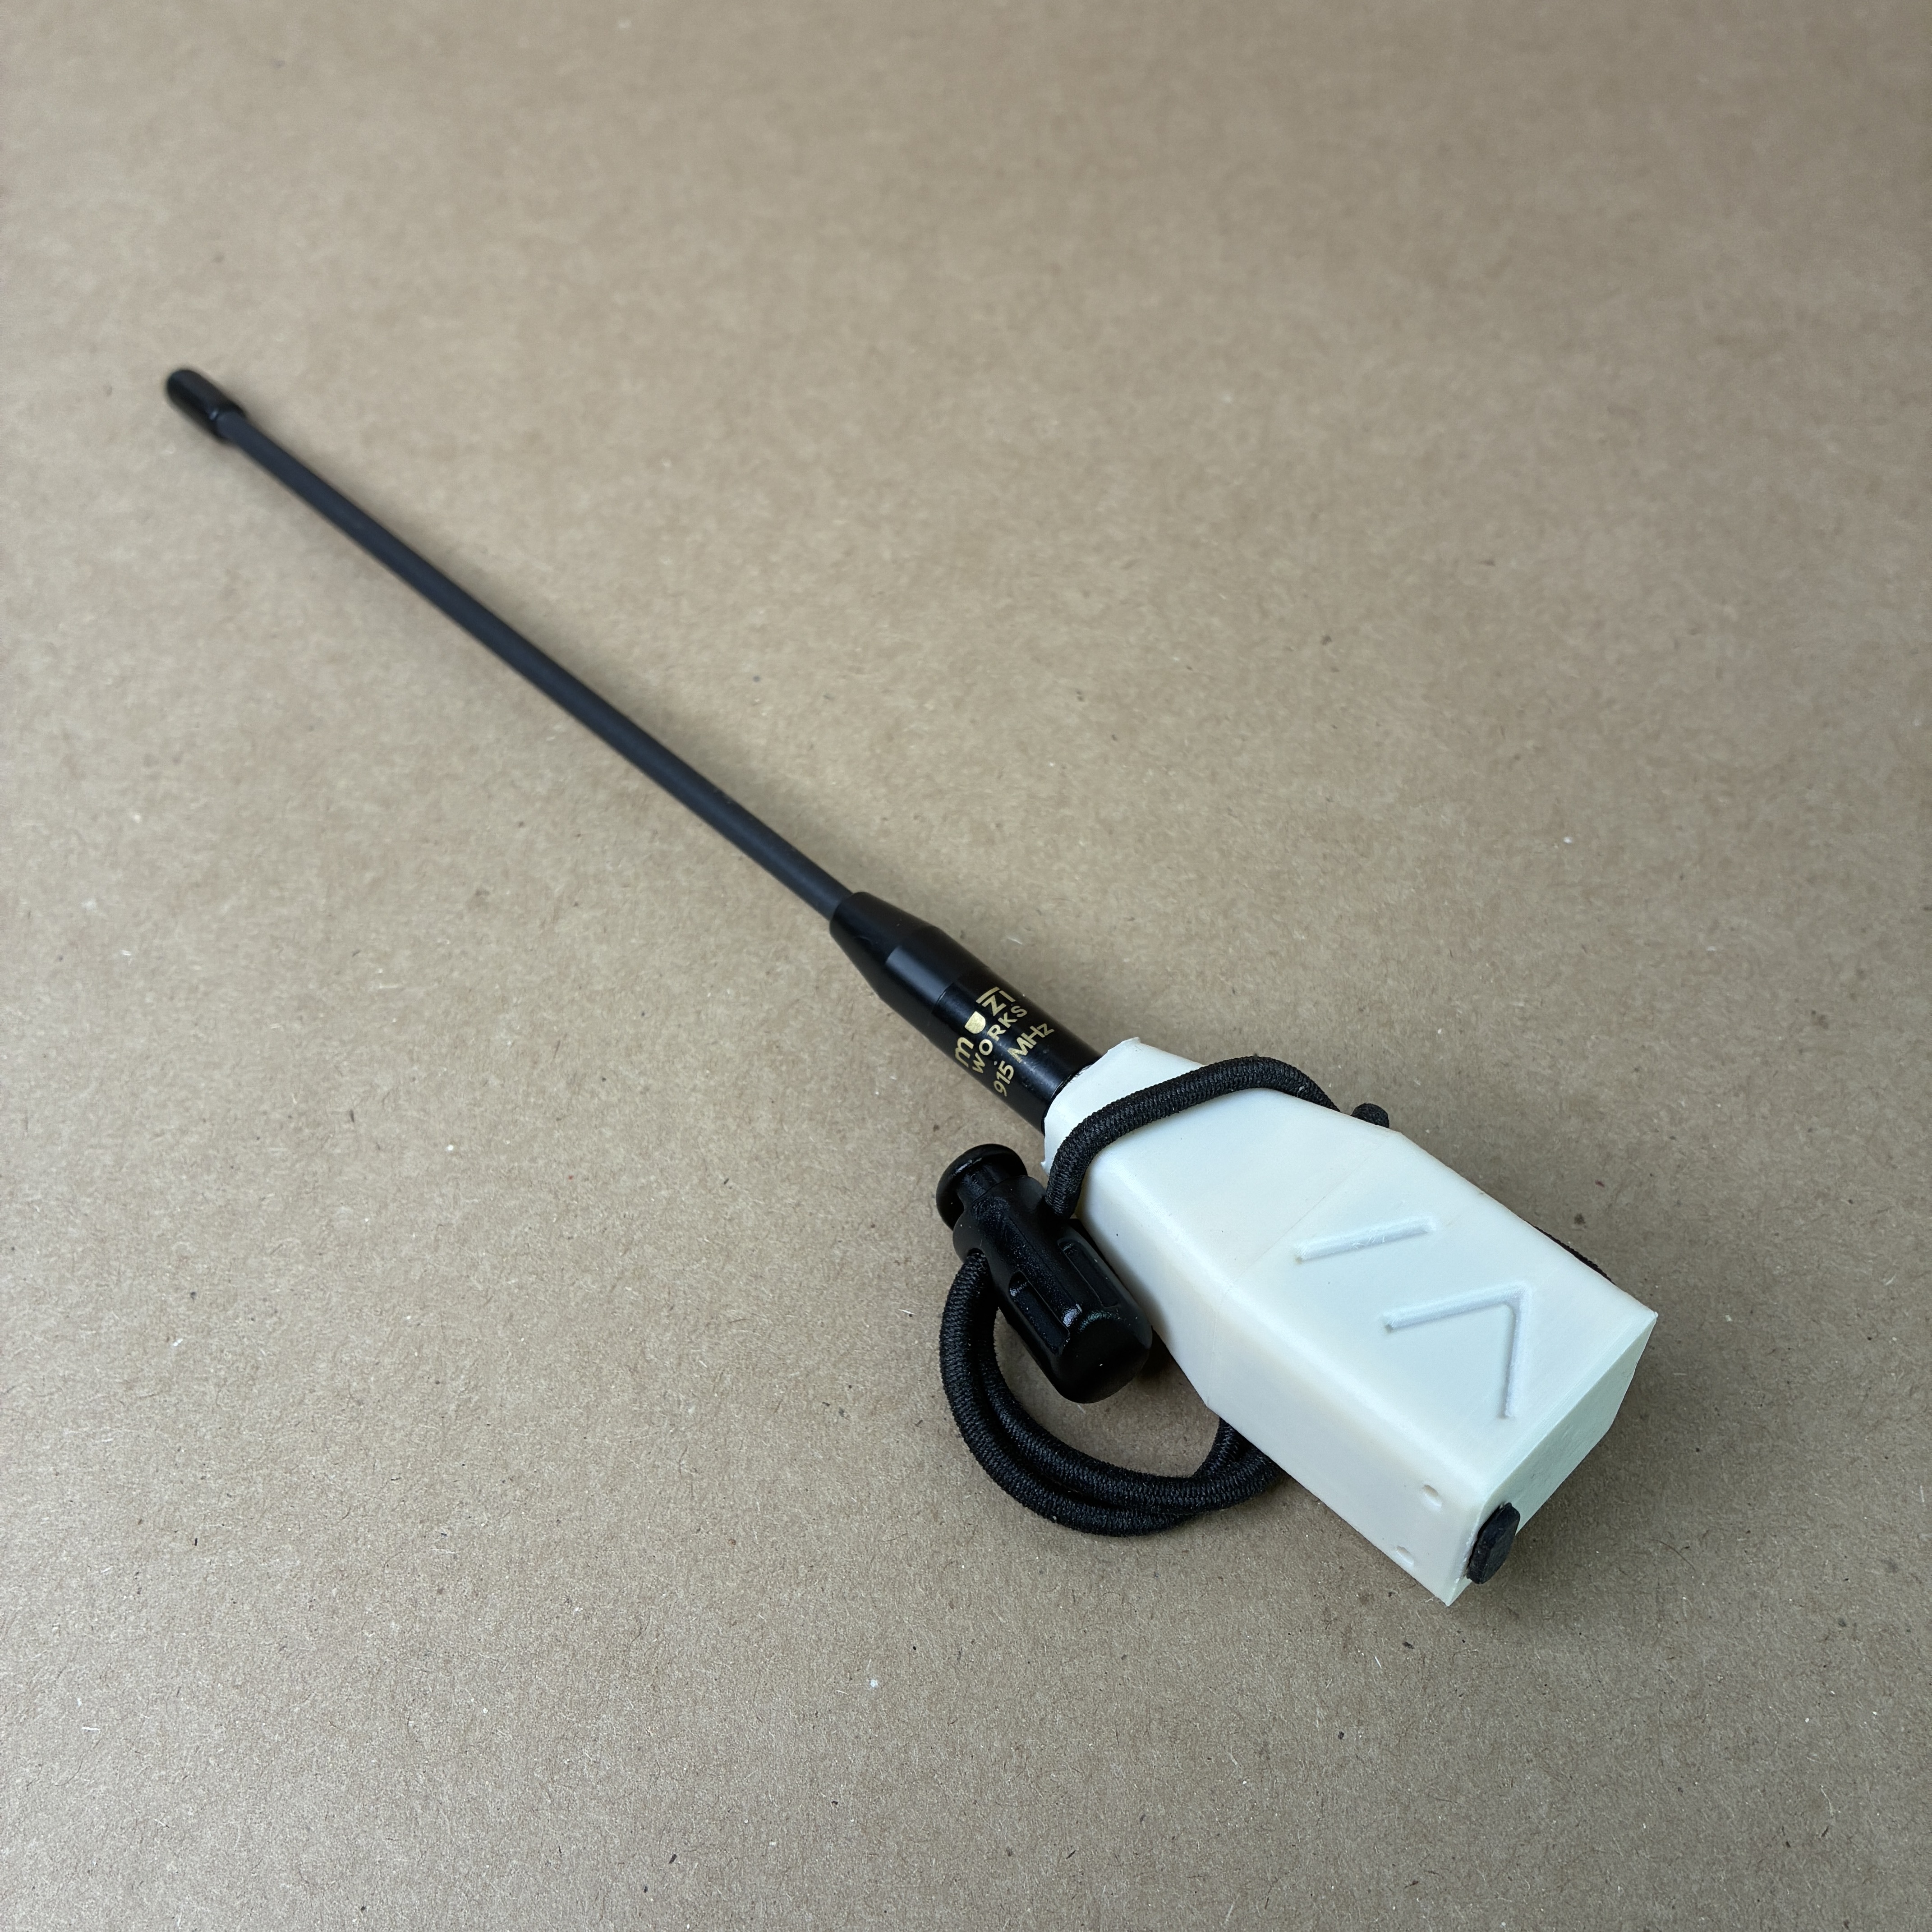
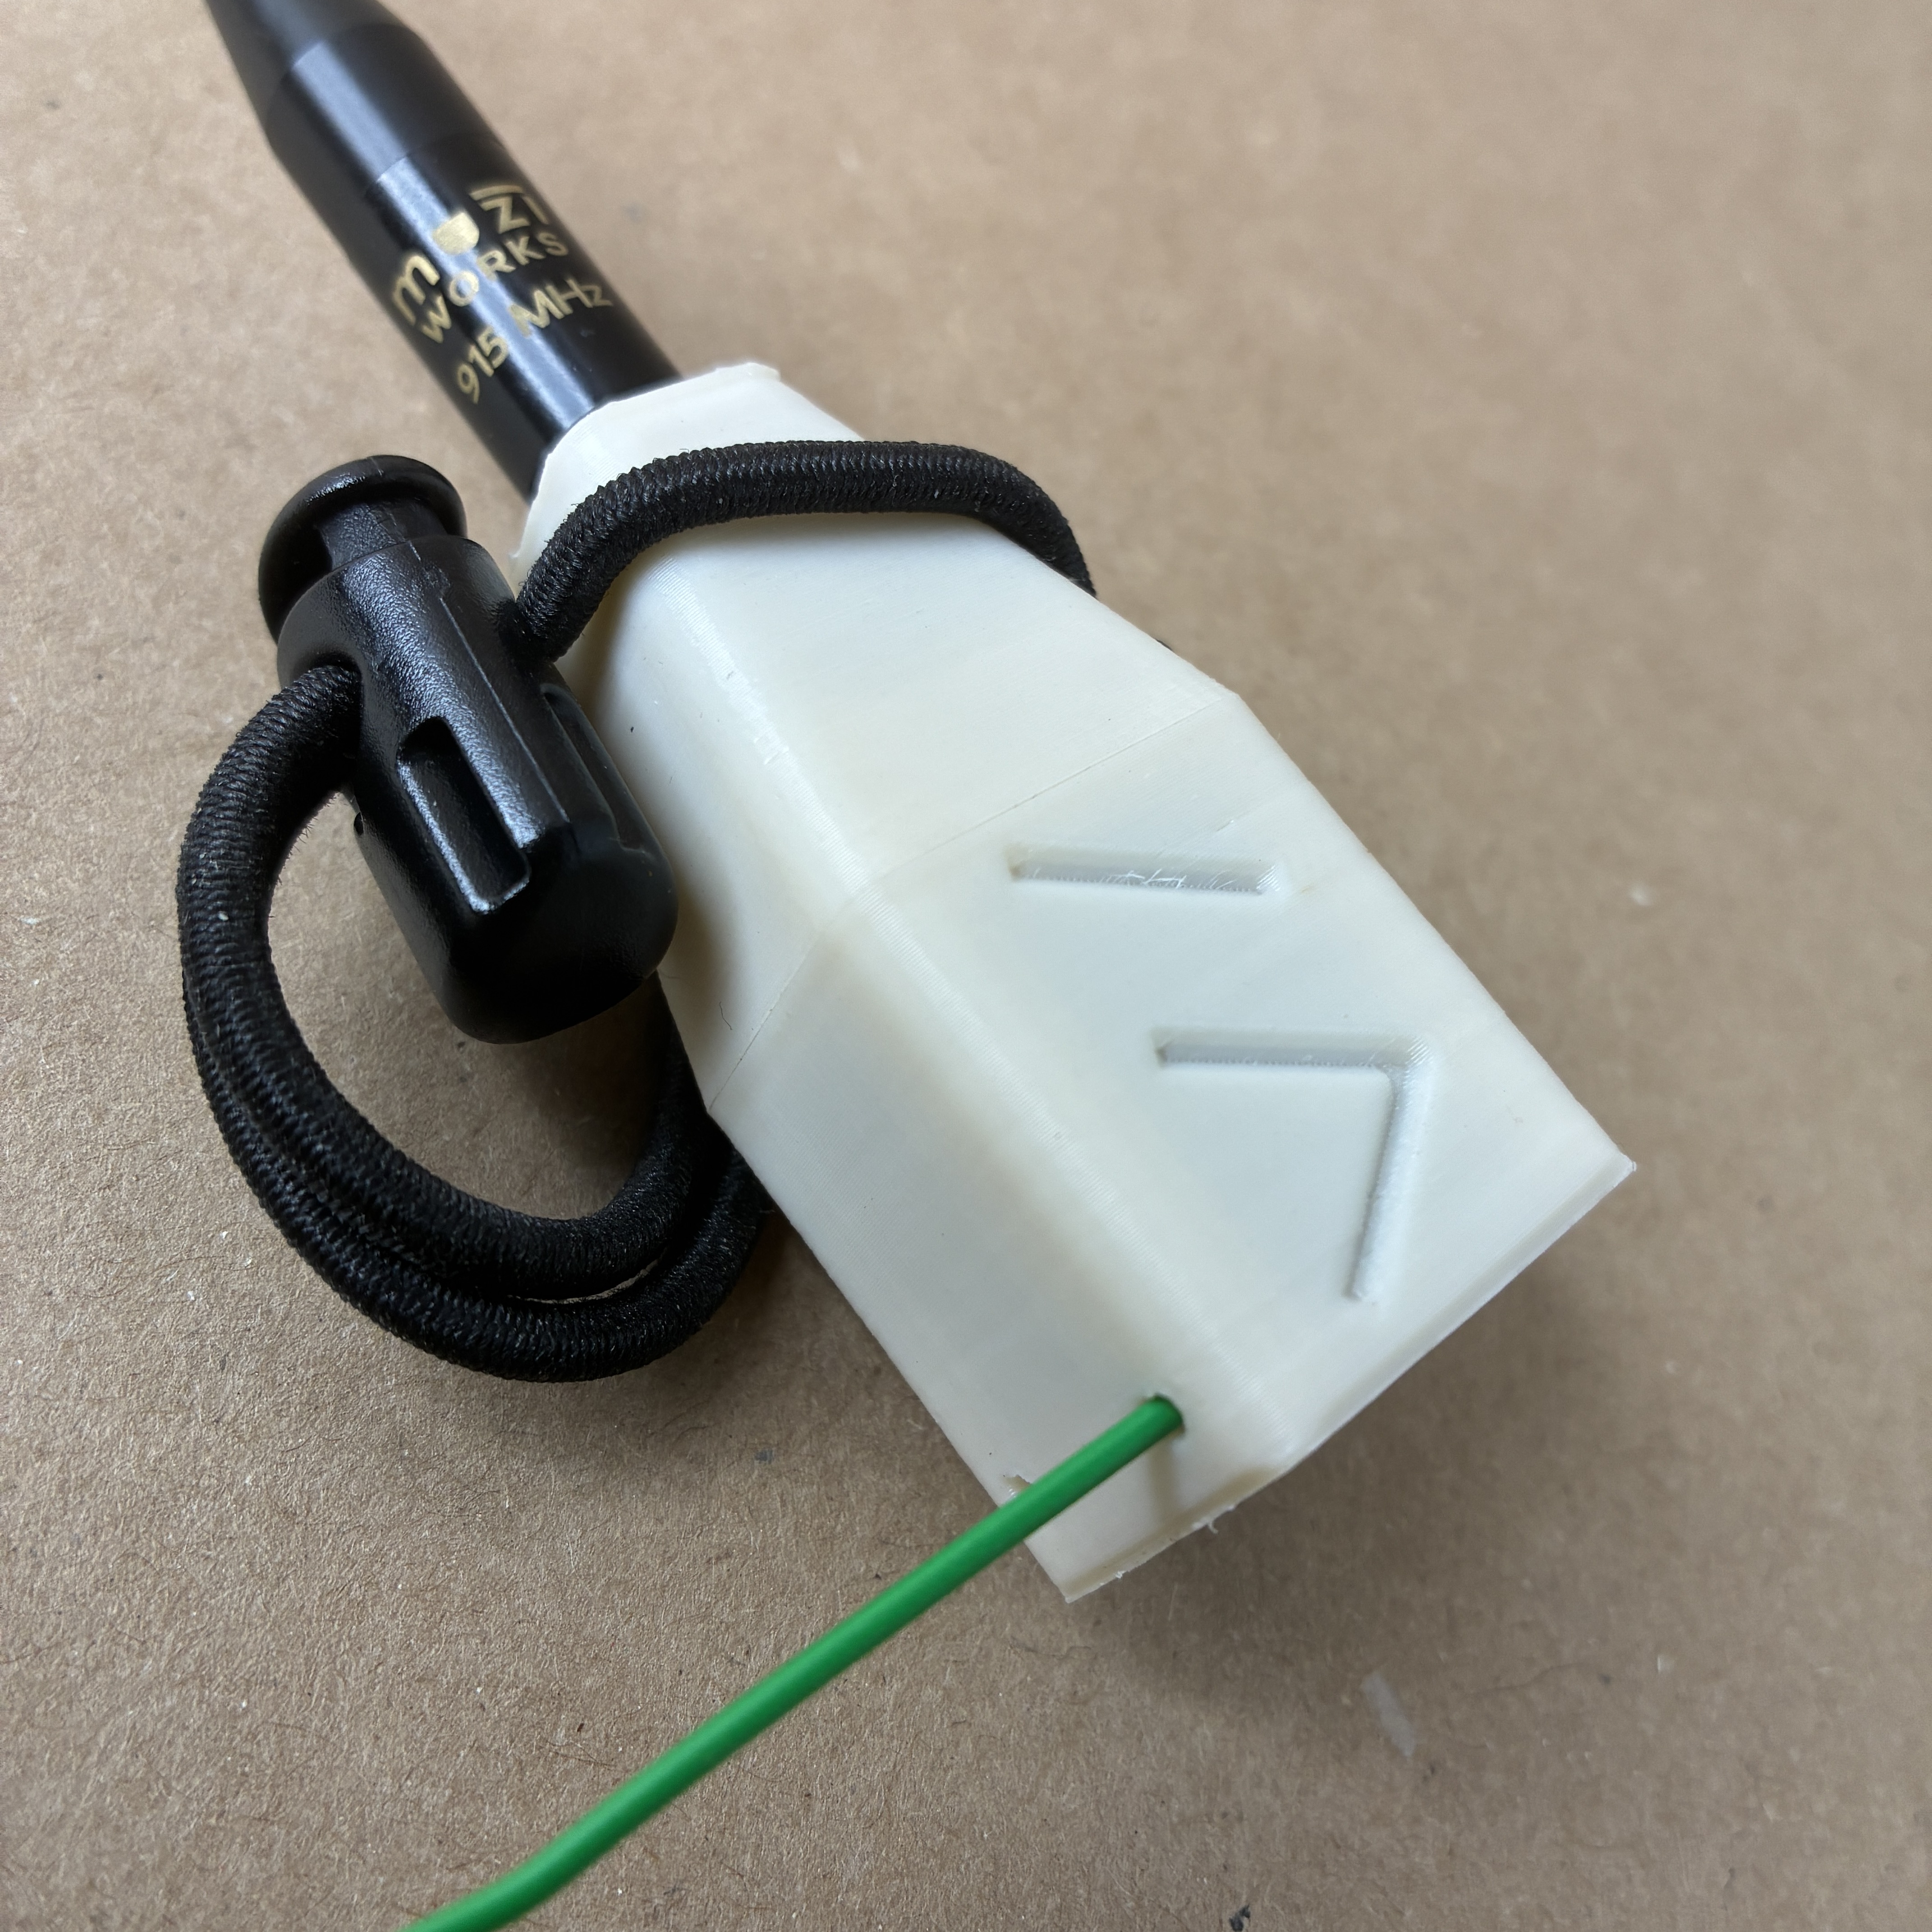
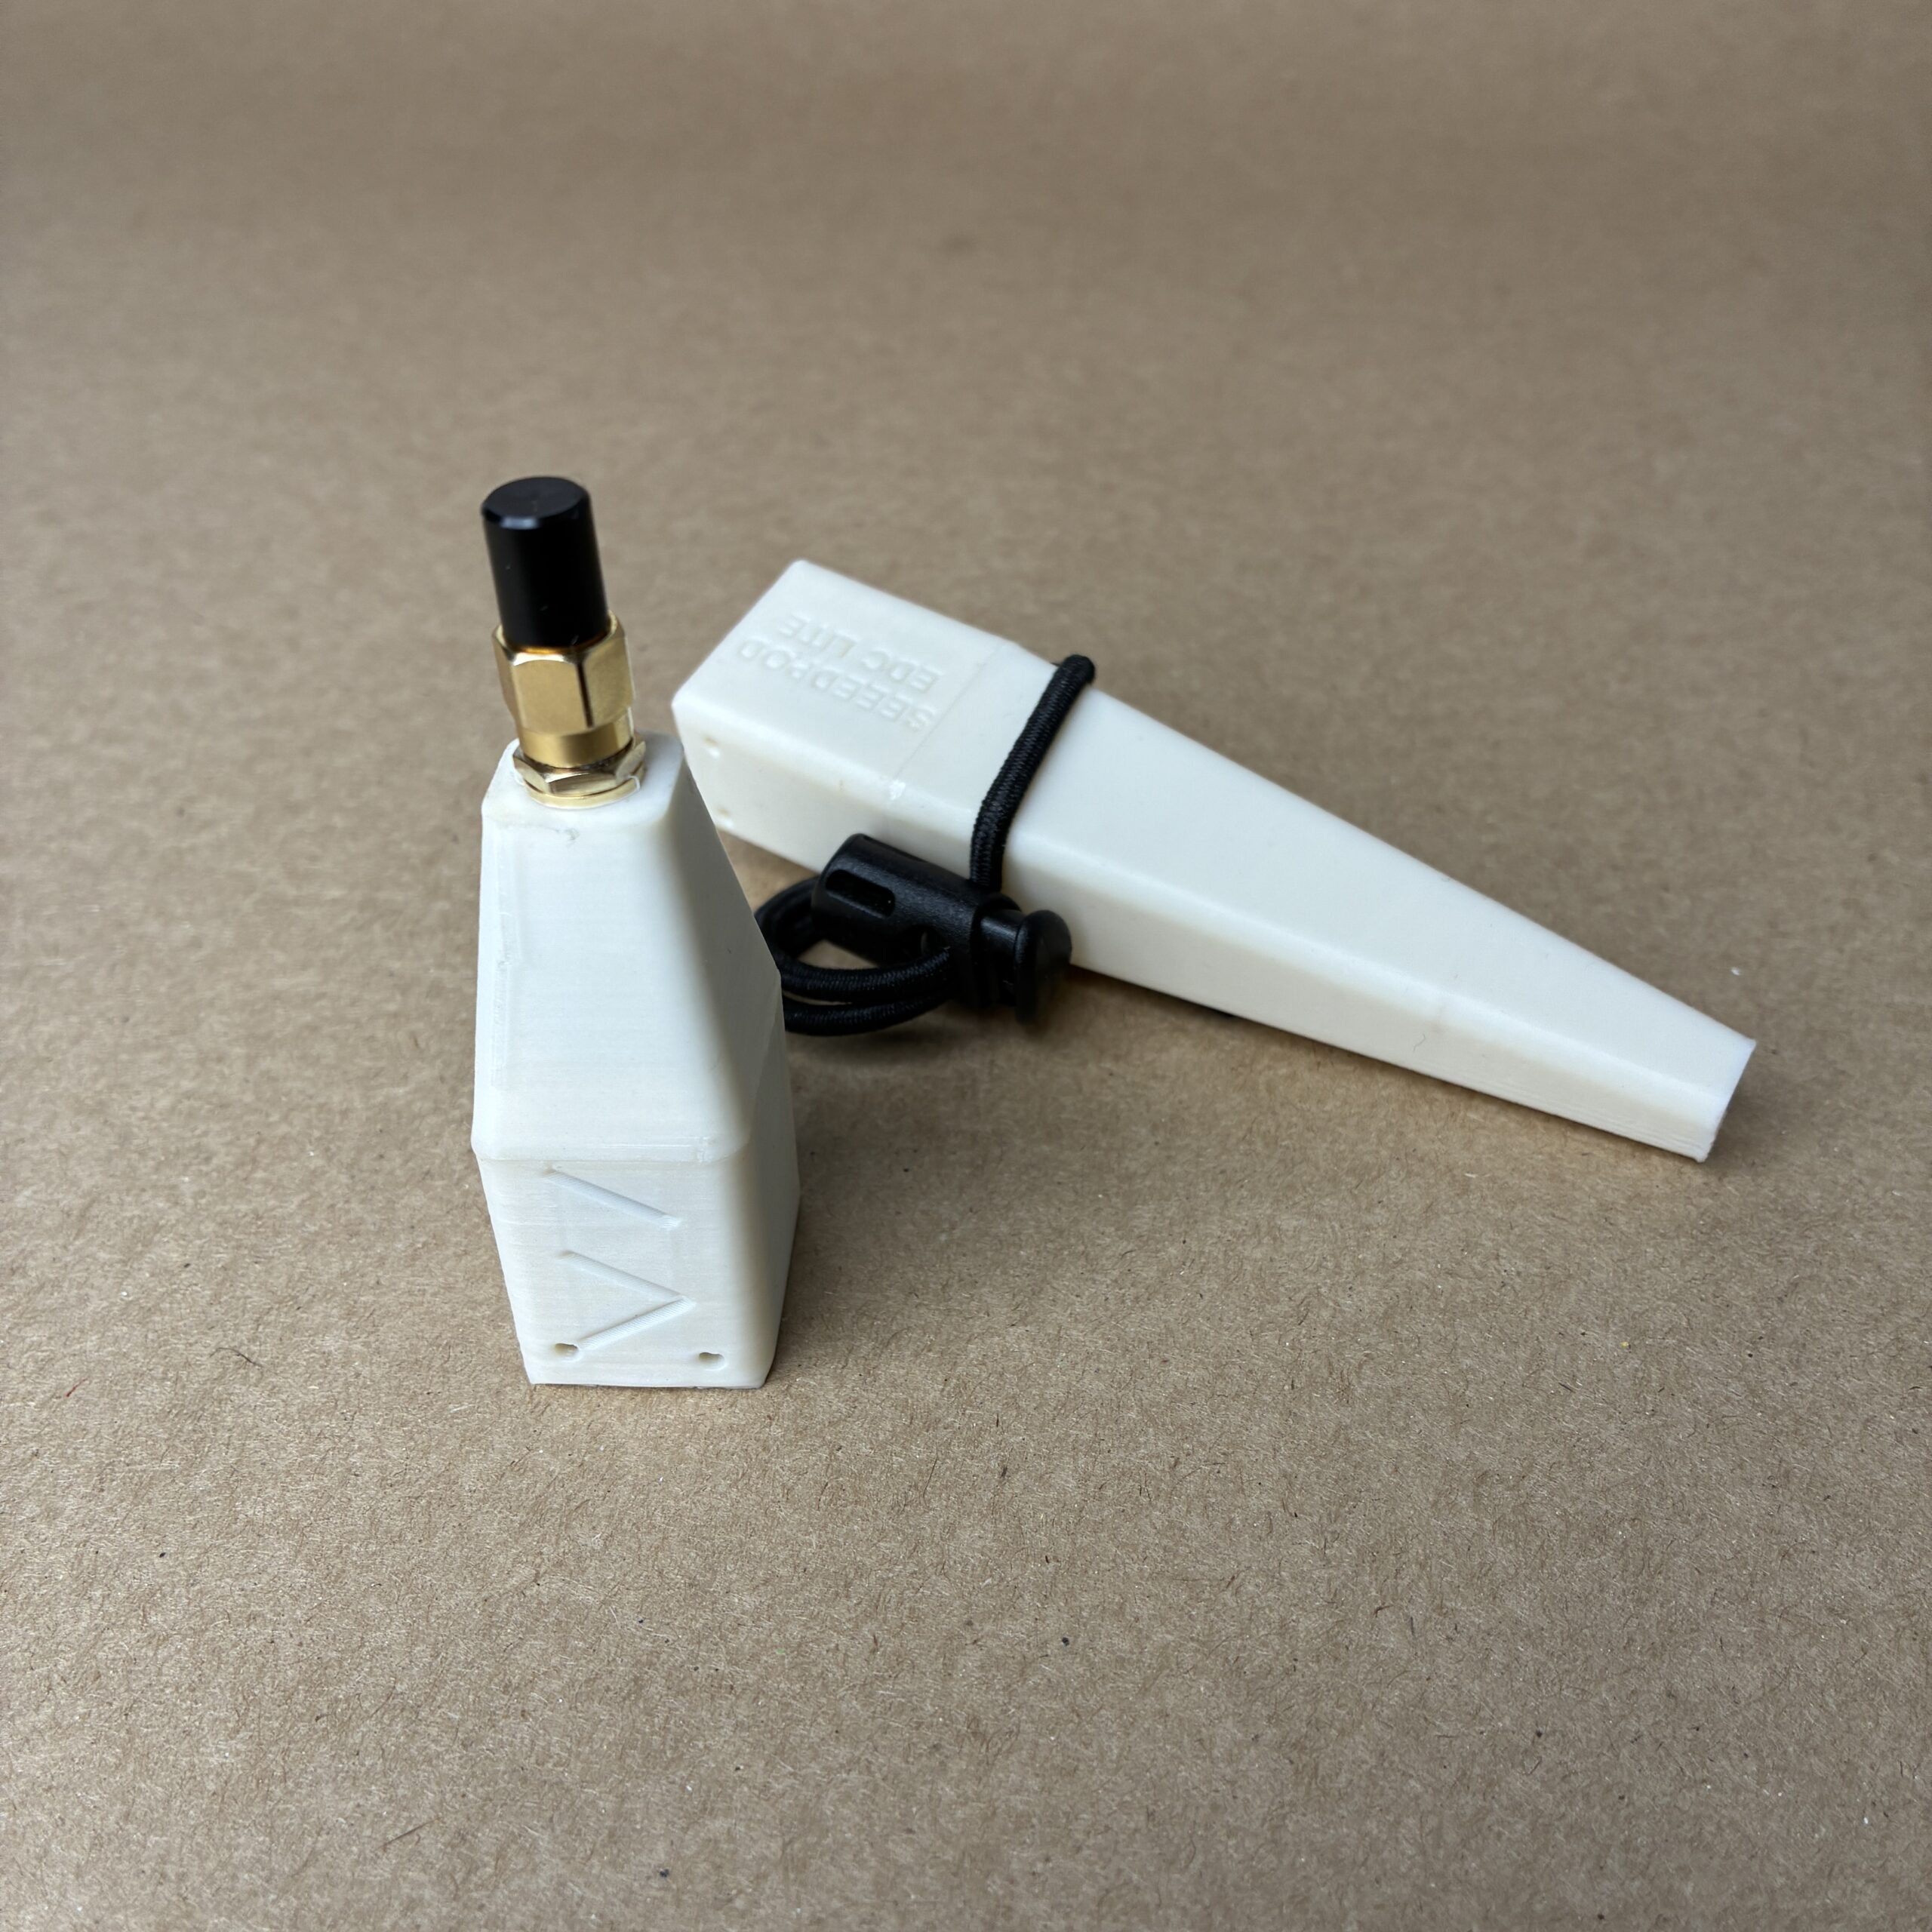
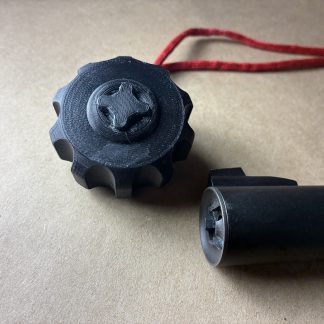
If you’re unsure whether to get the V1 or V2 files, the V1 uses the little PCB antenna that comes with the devices from the factory, and the V2 uses an IPEX to SMA adapter so that you can use an aftermarket antenna (such as the very popular Muzi Works whip antenna), which will increase your range.
Is the V2 always better? Not necessarily. The PCB antenna that’s included with the devices is actually very good for its size, and even better in many cases than a higher gain antenna, especially in urban areas, and also in rugged terrain, where achieving line of sight is nearly impossible, and you’re thus almost always relying on reflected signals that might be from any and all random directions (in which case non directionality, aka low gain, is preferable).
If in doubt, I would say get the V2. While it’s the more expensive option due to having to buy additional antenna parts, it leaves all options open. You can start by putting some cheap stubbies on them, then if those don’t work you can experiment until you find something that does, as there are SMA antenna options across the entire spectrum from the lowest gain to the highest, and the low gain ones like the TE Connectivity nub are as or more compact as the PCB antenna utilized in the V1.
Note that the popular Muzi Works whip antennas index off of the hex nut, so depending on what kind of hardware your SMA adapter comes with and how you assemble it, you may need to use some washers as spacers. You want about 5mm (about two and a half nickels thick) sticking up above the hex nut, and more than that will result in the Muzi’s center pin crushing the female pin inside your SMA adapter. There are so many variations with SMA adapters I can’t predict how yours will land, and it’s not even an issue with most antennas, but it requires mentioning. If in doubt, screw on the Muzi antenna VERY carefully, and if you encounter a hard stop before its shoulder has made contact with the hex nut then whatever distance is left between that shoulder and hex nut needs to be filled up with washers (plus a little for margin).
Notes on print settings and materials:
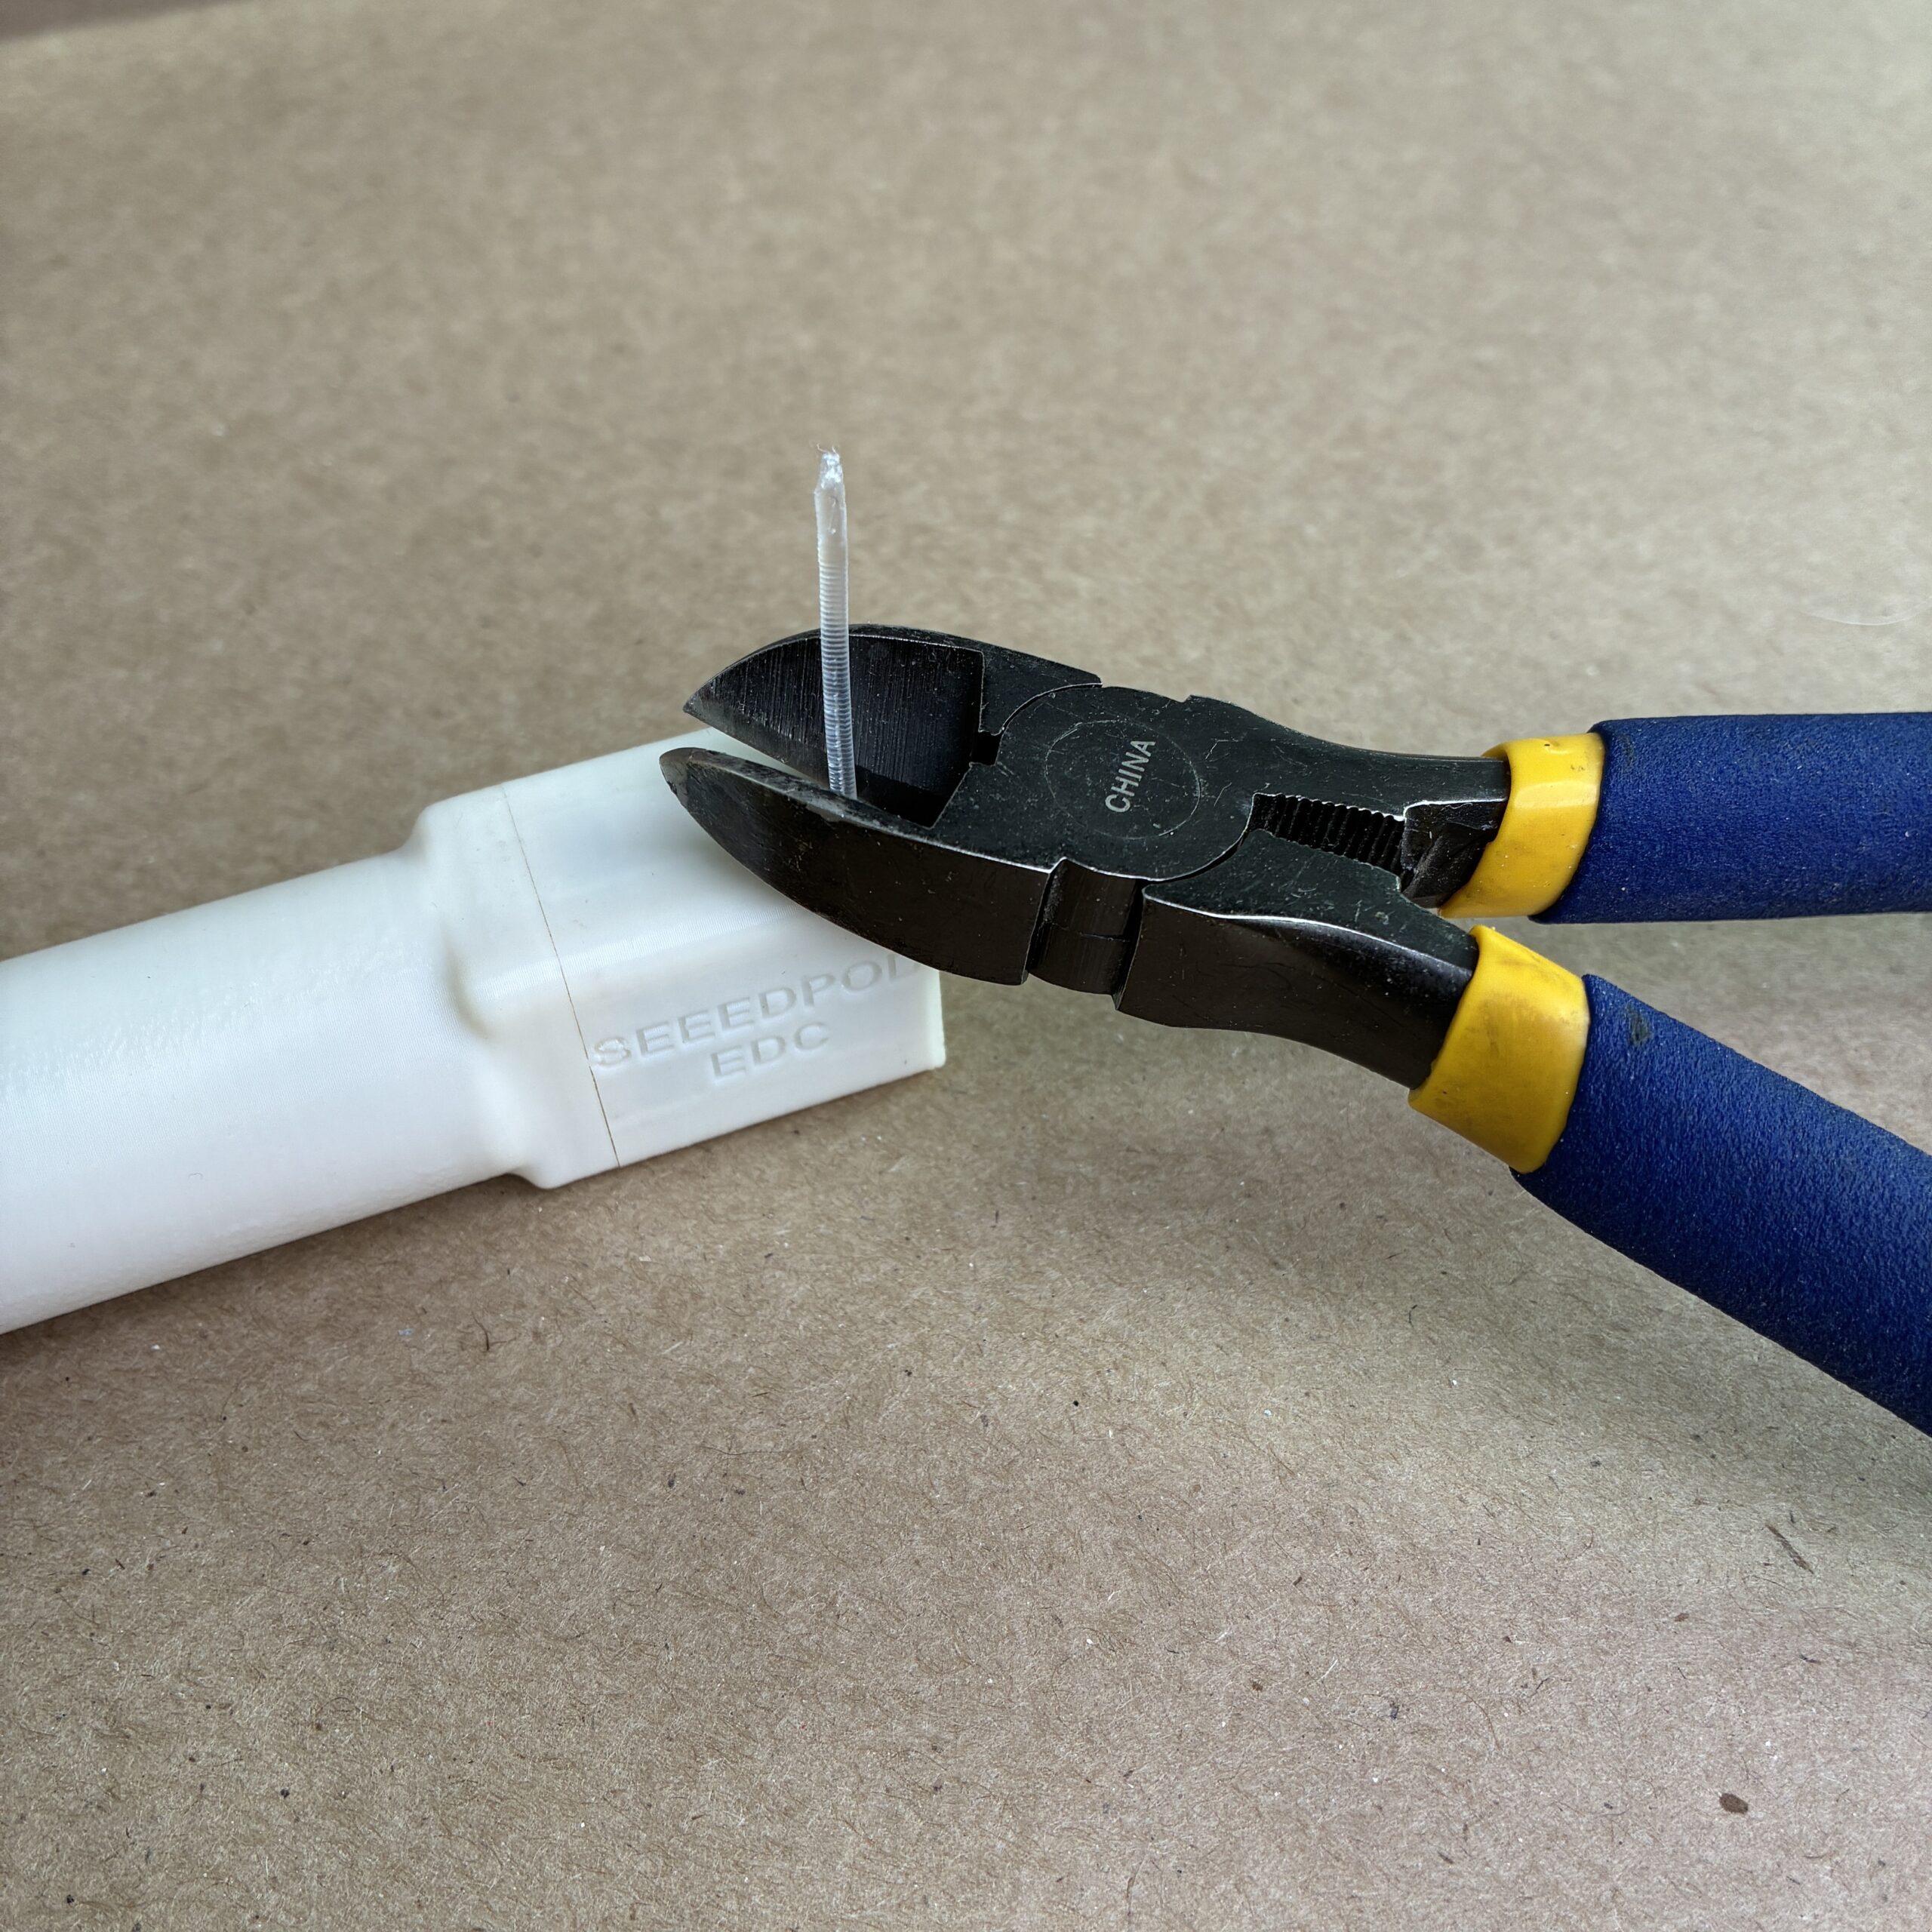
I recommend printing at 0.15mm layer height (0.2mm first layer) with a standard 0.4mm nozzle. No supports are required, but I would generally recommend a brim for the antenna housing, and, depending on filament, build plate material, and bed prep, you may require a raft.
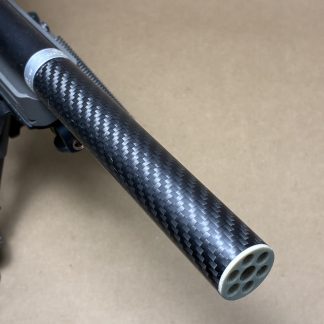
This design is 100% dependent on glue, so namely you want to use a material that glues well, which is primarily going to be PLA and ASA, and which will generally preclude PETG and similar materials from being good candidates. PLA and ASA are both highly, highly compatible with run of the mill super glue, so they’re obvious choices. That said, there are special adhesives for PETG, and while they’re expensive, the cost per unit would still be relatively low if you were gluing a lot of PETG. The tl;dr is I would recommend ASA, but if your printer can’t handle ASA, then HTPLA is a good option, as well. Even run of the mill PLA is fine, though it will warp in direct sunlight, so you may have to replace the housing often, which could get annoying. The good thing, however, is that the design doesn’t place any load on the components since there are no fasteners, so it lends itself to PLA in that regard. The antenna housing requires some special consideration, though, as different materials (and any pigments or fillers) affect antennas to different degrees. Pigments like carbon and fillers like carbon fiber are bad about detuning antennas, but organic pigments and fillers like glass are basically RF neutral, so, for example, CF filled materials are a poor choice, and black filaments in general might be best avoided, but a colored glass filled material should be just fine. A natural ASA is a great safe option, all else being equal.
Reviews
There are no reviews yet.